
This pretty much works for all D models.
When I took delivery of my ’65 Break, I knew that both rear boots were perished and I’d have to replace them. You won’t see pictures of me replacing the boots on the right-hand side, because I did it from underneath the car. The only boots available for LHS Breaks are for the sedans, and they are a smaller diameter (I don’t know by how much, unless it is in cusswords). What to me was usually a 90 minute job turned into an all-day adventure — having not had a D in 15 years, I had forgotten just how damned easy it is to pop a suspension cylinder off and do it on the bench.
So this time, that’s the way we’re going to do it. It was a quick job, only lengthened because I used rust treatment on everything and cleaned the snot out of it, and then painted with bed liner and then the proper Gris Rose (AC136) chassis color for extra points.
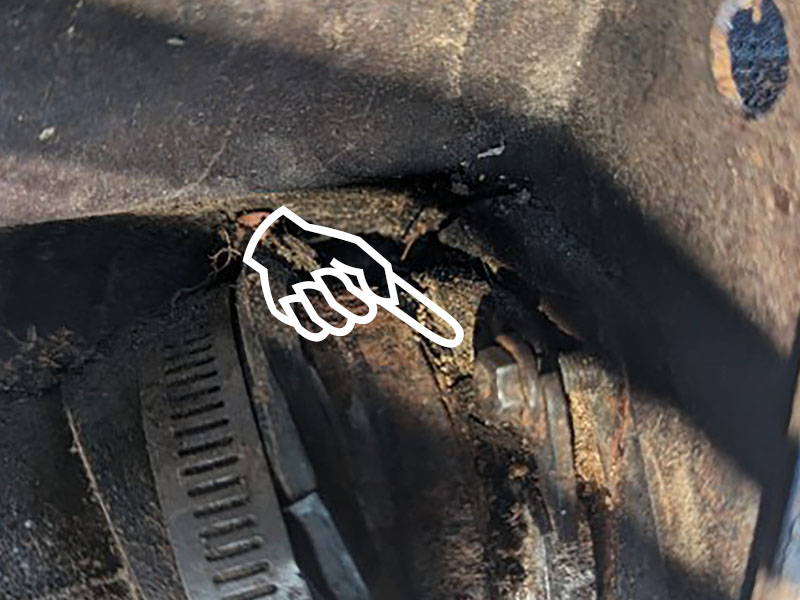
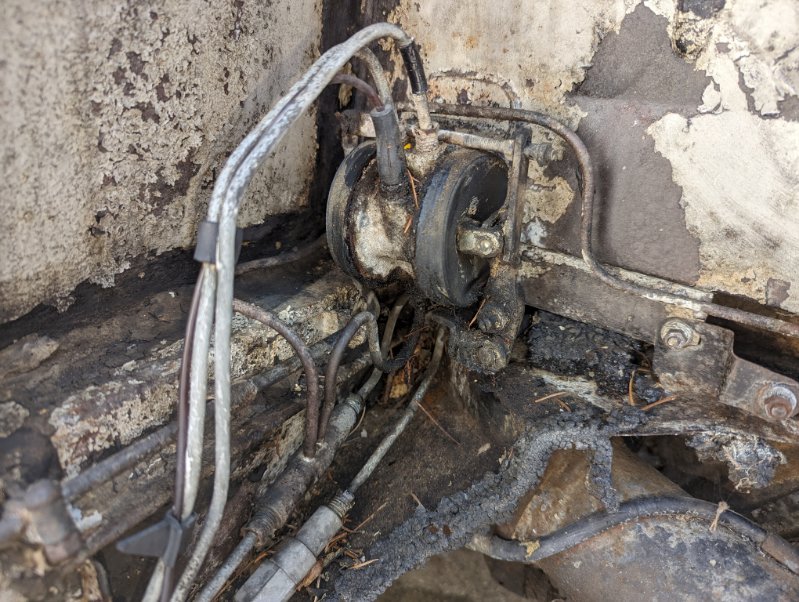
So first, take off the fender, hose everything down and get it as clean as you can, then remove the sphere. You’ll see this:

Make sure the car is raised up on your awesome floor jack (You DO have an awesome floor jack, right? Great investment). Pull the retaining Pin at the front of the suspension rod out, and push the grease boot back, exposing the end of the suspension pushrod. If the suspension is high enough in the air, the droop from the arm should align perfectly and the rod should pull right out. If it doesn’t, jack the car a little higher in the air.
Next, find the 5mm bolt with triangular retaining washer/shim that is in front of the cylinder mounting bracket protruding from the chassis (that’s the barrel-shaped chunk of welded up steel bits surrounding the suspension cylinder.

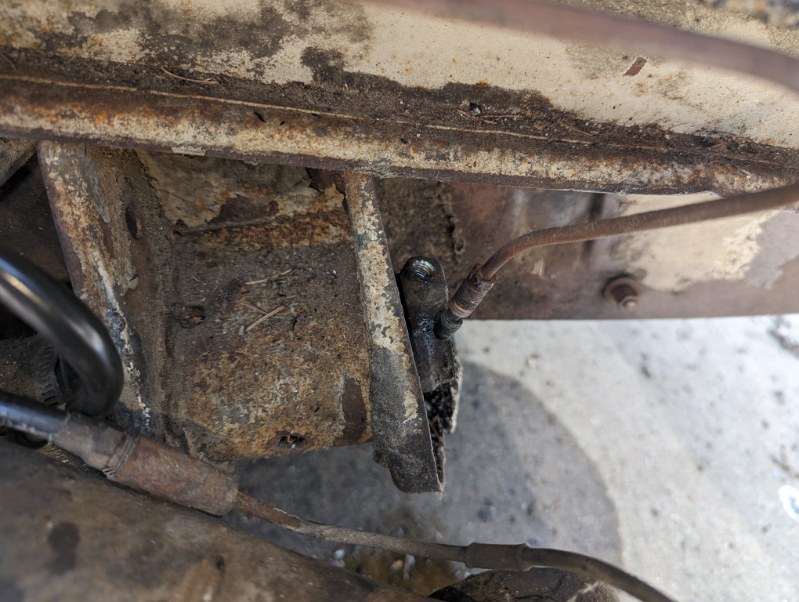
Unscrew the bolt using an 8mm wrench. Put on some music, because it’s a tight sqeeze in there and you’re only going to get maybe 1/6 of a turn or so at a time, so get comfortable. See the close-up below!
Once it is out, take it over to your favorite rotating wire brush tool and clean it up nice and shiny, and set it aside for when it’s time to put it back in. See the next couple of pictures to see where this wonderful bolt/shim combo. Now remove the hydraulic line from the cylinder. Make sure you have a fresh seal ready.
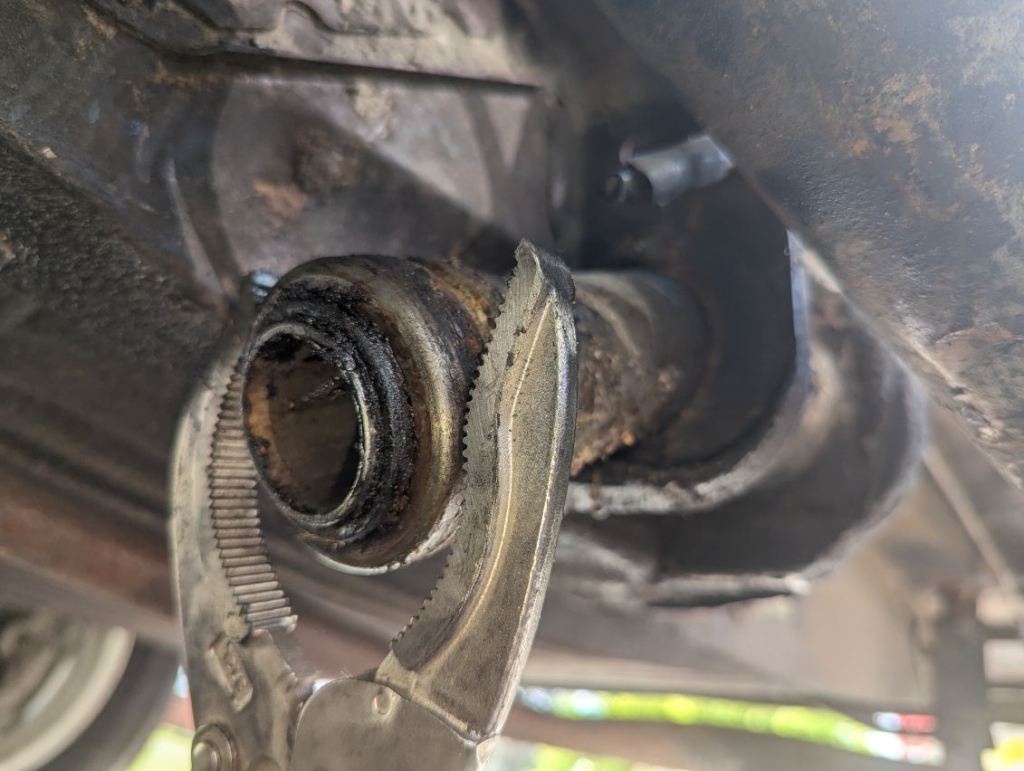
Grab a pair of “whale jaw” vice grips (pictured below), and LIGHTLY lock them around the forward-facing part of the cylinder. wiggle and rotate it until it starts to move. If you look at the sphere-side of the cylinder, you’ll see there’s a spot for the hydraulic nipple to pass through at about 9 o’clock. Rotate the cylinder until it matches, and pull it through the first hole. You’ll see by the picture below that there’s no extra room, but that won’t matter. just move the cylinder sideways as shown and it will clear so you can remove everything.
As you can see from the pictures, my boot was such a hot mess that I had removed the complete suspension rod before I took it out.
You can see the suspension boot ready to go back in the car. I went “old school” and used linen tape in a few layers around the Ligarex mountings both at the rod and also on the boot.
For all that is wrong on this earth, make one thing right and throw down for some ligarex pliers, tape and buckles. Once you use it you’ll never use anything else, and it makes everything last so much longer. Just do it.
The boot shipped with a rubber one, but I had enough trouble stretching this sucker over the boot that I decided it would be better to go with the factory method.
To see how a boot gets fitted to the rod correctly, Here is a video in Dutch with English subtitles. The guy has a ton of great content.
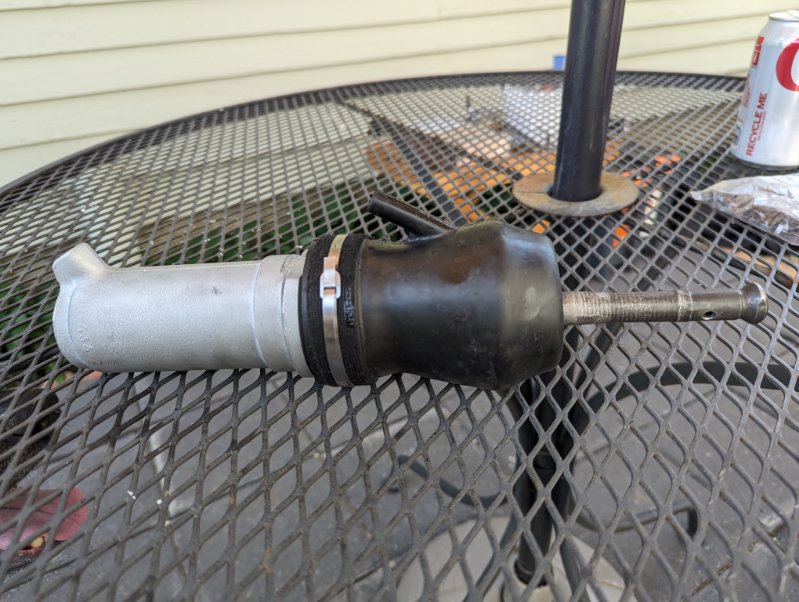
Here is Thefinished product. I cleaned the inside of the cylinder with denatured alcohol and then painted it with alumablast to make it awesome and clean.
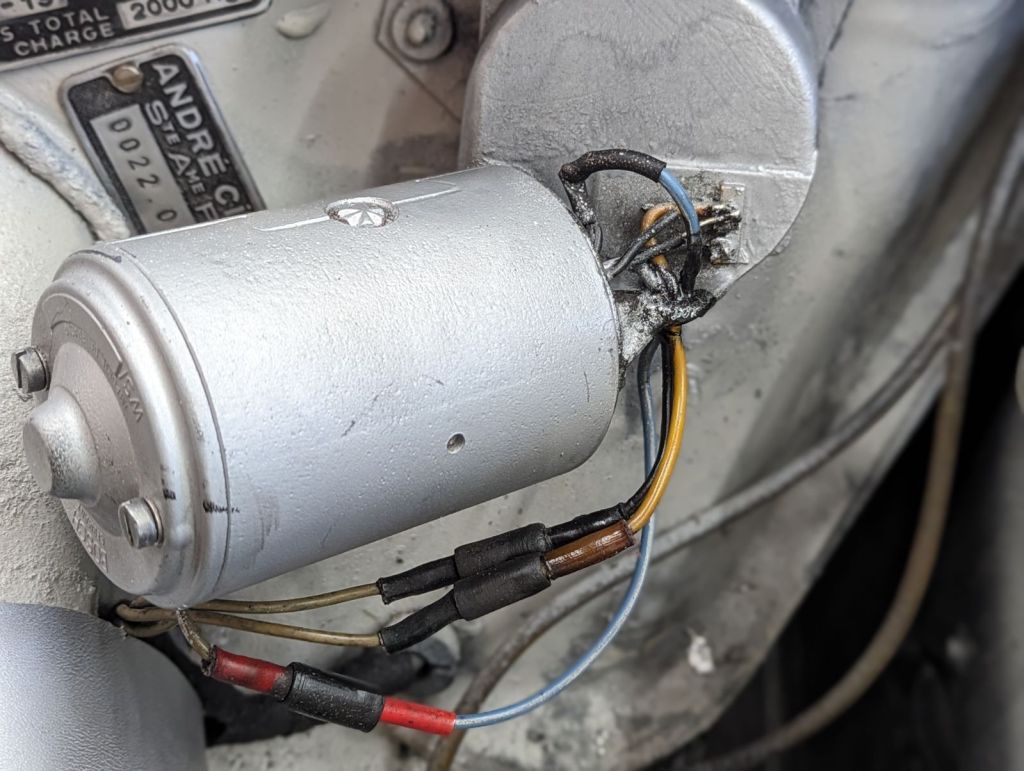
While I was in there, I cleaned up this hot mess, de-rusted everything with my favorite “Rust Kutter” from Tractor Supply, and cleaned and Aluma Blasted the plate, wire-brushed the screws and made it pretty.
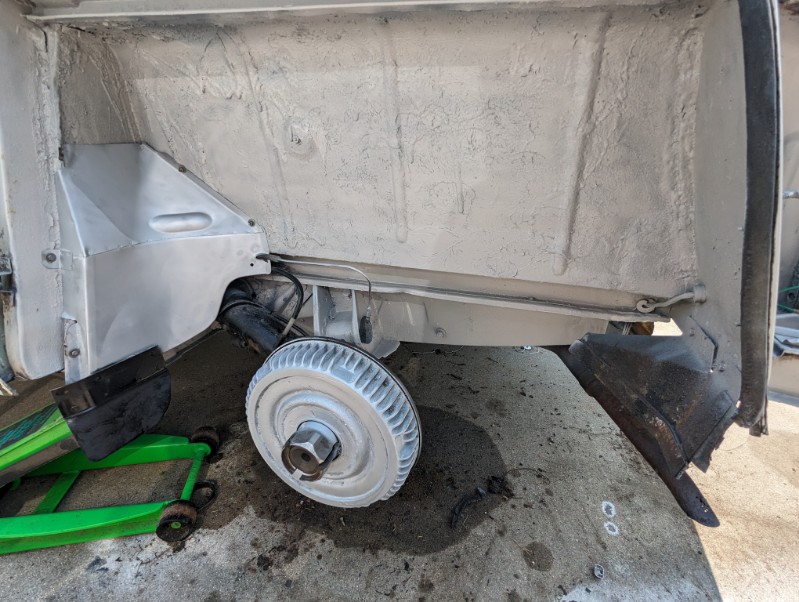
Here it is, all cleaned up and finished, ready to install the cylinder, sphere and button up. I need a new rear mud flap, but that will come later. Yes, I alumablasted the brake drum.
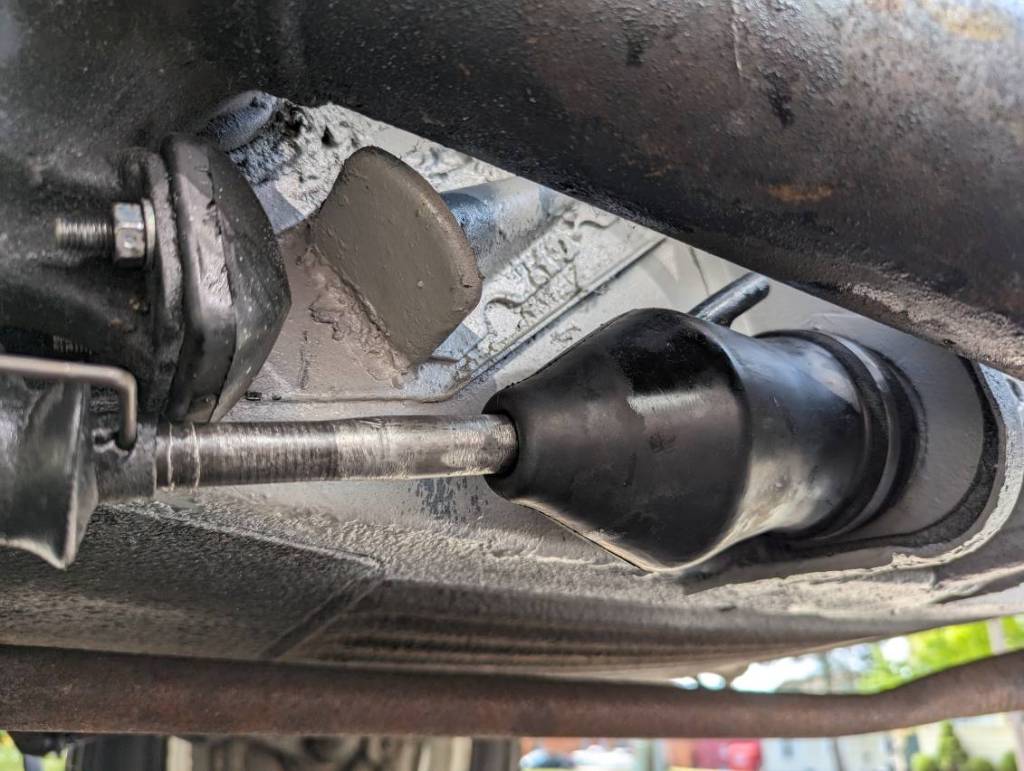
Before installing the cylinder, I put in a new bump stop for extra coolness after scraping, treating, rust-proofing and painting everything around. Plenty of ship-grade grease in the suspension boot for the pivot! Don’t forget to re-install the 5mm bolt and shim!


Leave a comment