
While I was cleaning up the head and fixing exhaust studs, I decided to clean up an old and ugly Carb.
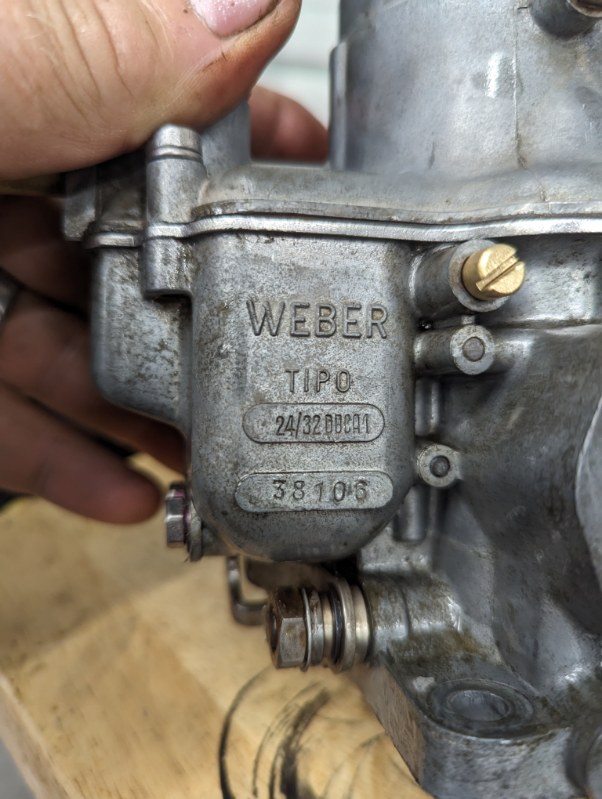
The Carburetor attached to my ’65 ID 19 Break is a Weber 24/32 DDCA1. From the grime and old, discolored brass, I’m pretty sure it hadn’t been cleaned much in the last 30 years. I’ve done a few of these, and kits for them are relatively cheap and there’s not much to them. It’s a typical dual-throat weber with a primary and secondary venturi, and the usual Weber jets and air correctors and needles, etc. There’s not much here out of the ordinary, especially on the manual models (I haven’t done a BVH car in quite awhile — I know there is a difference in the front part of the carb with respect to linkage, but I’ll defer to others with regards to anything that is special for it),
It’s like any other carb with respect to dissassembly. Get a nice big sheet of paper or cardboard, and draw a picture of the footprint of the carburetor on it, with the front facing away from you. Note the side with the small venturi, and the one with the big one. Now draw a box on the carb for the left, and another for the right. As you take pieces off, note which side of the carb they came off and put it in that box. You’re going to clean everything, so this keeps things from getting mixed up and saves you about an hour when you are finishing up.
Once the carb is stripped, check out the base. If you’re not the original owner of the vehicle, I’m positive that some ham-fisted mechanic has cranked the four bolts holding the carb down tight to make sure the seal is really good — really tight. REALLY TIGHT. This causes a warp in the base, and eventually a vacuum leak that you’ll be chasing for weeks before you figure it out.
Invest in a good machinist’s straight edge and a flashlight, and hold the straight edge across the carb at all angles, with the flashlight behind it. Except for the obvious holes, there should be no light under any of the solid spots or webs. Most likely you’re going to see where the stud holes are warped “higher” (since you’re doing this with the carb body upside-down) than the the center areas.
You’ll want to mill these flat. Kudos to you if you have a Bridgeport, or you can take it to a good machinst. I have an extremely comprehensive set of flat files and a ton of patience.
Note that some owners will leave the base alone and rely on gasket dressings, etc. I’m sure this approach is fine, I just have my opinions. YMMV.

I finished with a little 600 grit to make sure there were no burrs or deep gashes. I then put everything in my favorite ultrasonic cleaner (they’re cheap, they’re awesome) one side at a time and cleaned the tough spots with some degreaser and a toothbrush. All the brass got hit with my wire wheel, gently, to clean everything up. Bolts and nuts, too.
Reassemble.
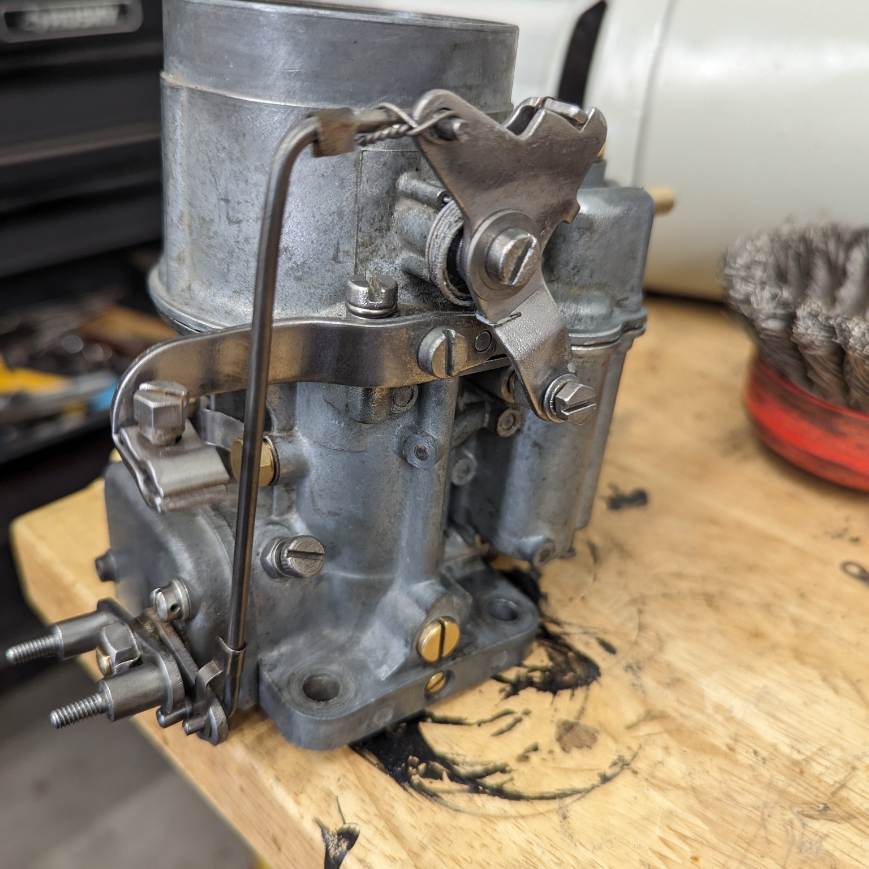
It’s damned clean. Not quite “factory fresh”, but I’ll probably have it off again at some point and will take it to the next level and plate the metal bits with cadmium, etc.
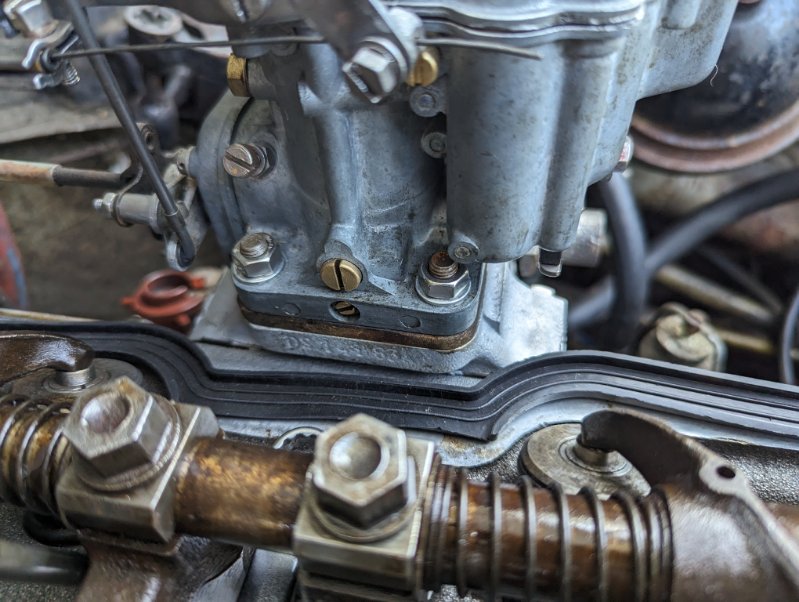
I mounted on the car with stainless nuts and washers. Note that the nut on the left will not clear the accelerator pump housing (Fig 4). If your previous owner was ham fisted and lazy, it’s probably missing anyway when you took it off. When installing, this is the first one you want to thread on, because you have to do it with the carb lifted a bit so everything will clear. Once below the top of the stud, it’s a piece of cake and you can put the rest on. Don’t crank it down like a maniac. Nice and tight, but don’t overdo it. Note that I cleaned the thermo gasket.
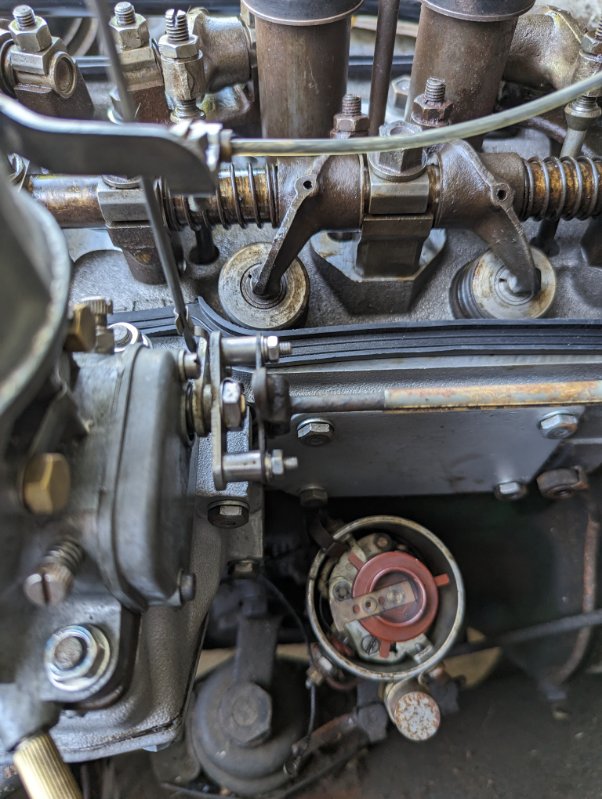
Hooking up the throttle, I went purchased new washers, lock washers and stainless nuts (4mm) for the linkage. Don’t forget a little blue locktite.


Leave a comment