
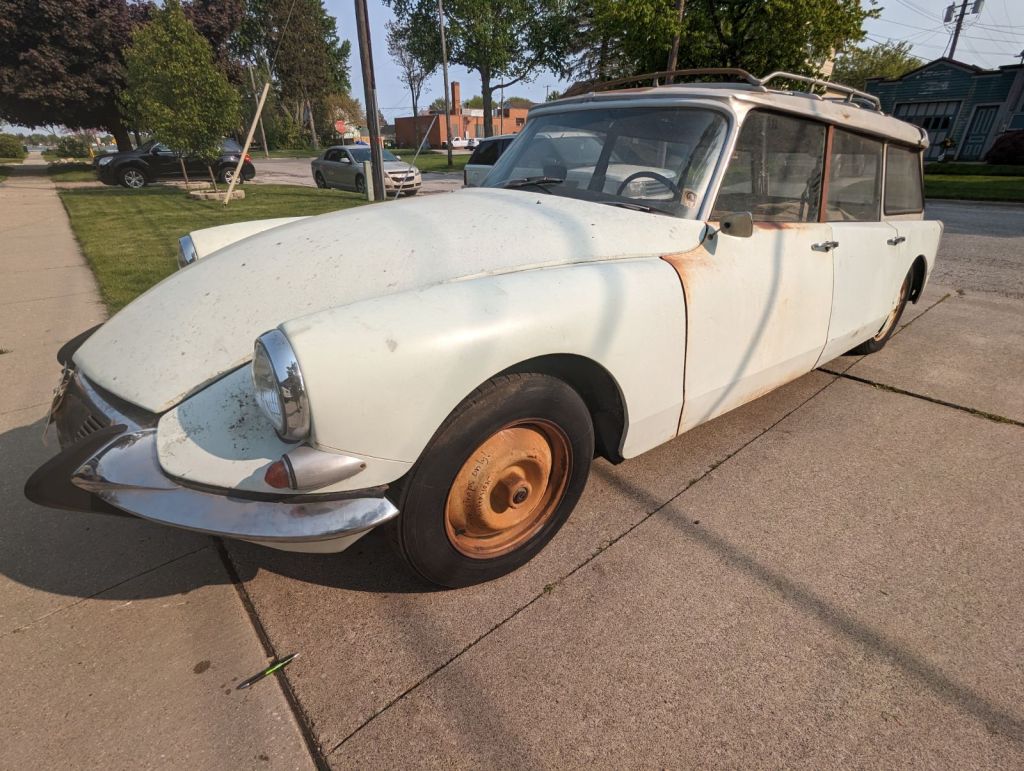
No substitute for elbow grease.
It’s raining here in Marine City, totally cramping my style and forcing me to abandon getting the ’65 ID Break back on the road. I have to install new front hydraulic cylinder returns and bump stops, hook up the heater hoses, add a ground wire to the distributor (it’s there on the block, use it), put a new copper gasket on the block to head oil line, hook up the main water lines and tighten, add the temperature gauge wire, wrap the wire loom in linen tape, and bolt the rest of the bits together.
I gotta do that, but it’s raining and I don’t have my car in the barn yet. So I decided to get something done about the ugly front wheels and the spare. Clean and paint, make them nice and get them ready for running around. I had them dismounted last week and I pulled them out to inspect.
There is enough grease caked on the inside. Wow. What a mess. I stole my Wife’s Easy-Off spray bottle out of the kitchen and smothered the inside of the wheels with the stuff and let them sit over night.
Then it was time to power wash.
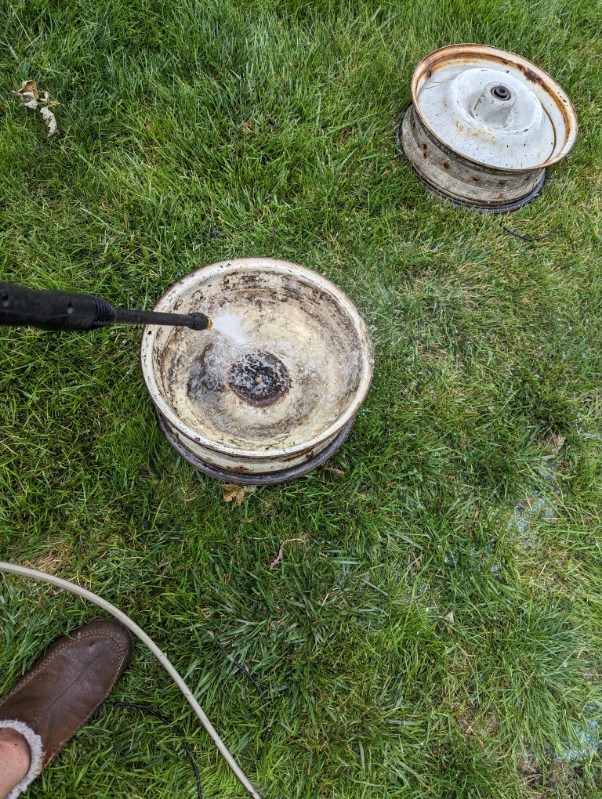
In the picture above, you can see I was hitting it hard with the power washer. Easy going at first with the big chunks, but getting down to the tiny bits took a lot of time and patience. And a lot of water. I finally got the three wheels as clean as they were going to get, and took them into my shop to get them to the next step.
I have an angle grinder that I bought from Harbor Freight years ago. I didn’t expect it to last as long as it did, simply because it came with extra brushes and bearings. But here I am, probably 10 years on, still using it. I have a BEAST of a wire wheel I bought for it. the kind witht the heavy wire, twisted up, etc. Not something you want to brush up against! I just went at the wheel like I was killin’ cockroaches.

Couple of notes here. Wear a mask and eye protection. Stuff flies everywhere, including the errant wire once in awhile. Also secure your work. With all that kinetic energy, you don’t want that wire wheel taking out your hand, clothing (and anything under it) or your shop dog.

A little elbow grease and a lot of patience later, and you will have a wheel with no paint on it. I didn’t clean the back of the wheel as much, just knocked down and burrs and chunks. Most of the back of the wheel cleaned up with a brush and degreaser (below). It took me about 20 minutes per wheel, and then it was time to clean and prep before painting.

First, start by using a wax and grease remover over everything. All of it. Everywhere. Then get a clean rag and do it again, frequently turning the rag over so you’re not just spreading stuff around. Then blow everything dry with compressed air.
OK. Gotta say it. You need a compressor. If you don’t have one, you have probably looked at them and said “someday”. I know they aren’t cheap. But my Sears compressor is going on 23 years old and still runs like I bought it, even if it IS A LOT UGLIER than it used to be. I have painted cars and bikes, run tools blown stuff out of the shop and tons of other things. I don’t know how I ever lived without it. So just get one if you haven’t already.
You’ll want it on a 30 am circuit, minimum 20 amp. If you’re running an extension cord, get a thick one. Don’t get one that just runs a nail gun. Make sure you can spray HVLP with it, which means about 30+ gallons. Now go to the store and do it.
When everything is clean and dry, appy the Bulldog Adhesion Promoter. You can do it without this step, but it’s the thing that makes sure your paint will stick to anything, including any tiny grease spot that is in a crevice that you missed, or whatever other impurity is on there. This stuff isn’t cheap but you’re not using it like spray paint. One light coat and you’re done. This can has lasted me through all my wheels, some spots I’ve done on the car, painting a complete Vespa, and some other stuff, and it’s still got plenty in the can. It’s wonderful.
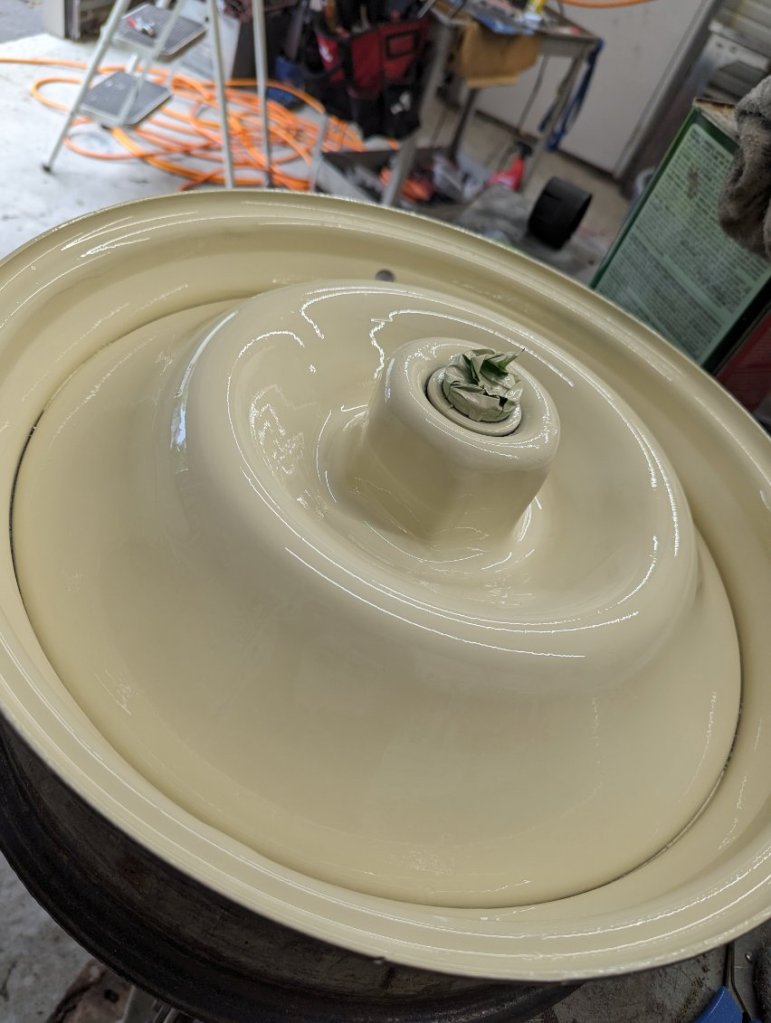
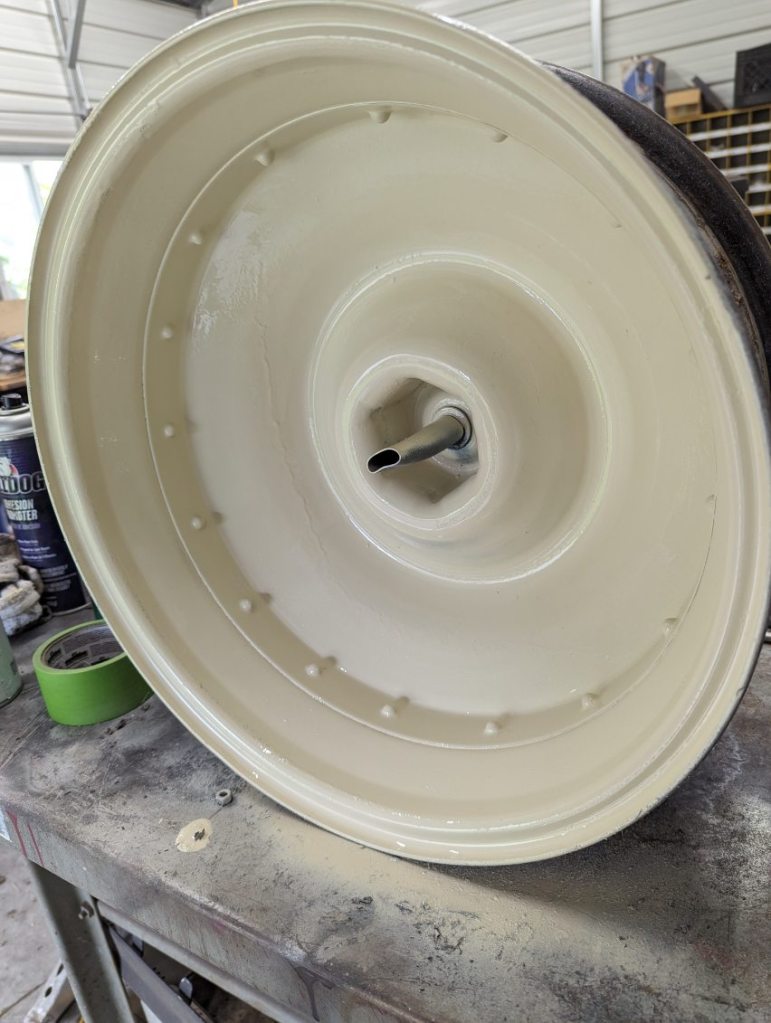
I used Rust-Oleum spray paint because I like it. I painted the wheels “Almond”, but if you want a little less yellow, the “Canvas White” is a nice warm white. Tractor Supply, of all places, has “Majic” brand paint with a warm grey that is a dead ringer for AC136 Rose Grey. Who knew?
Anyway, here is the finished product. Yes, there’s a big run of paint on the back wheel. That is from the original paint underneath. Turns out every wheel had some drips from the factory! I refinished the back of one wheel extensively to use for the spare under the hood. Note that I taped off the wheel bolt. I hit it with the wire wheel too, and it is all nice and clean now.
I’ll mount the tires after it is all dried hard, probably tomorrow.


Leave a comment