

Beginning the cosmetics — Let’s start from the top!
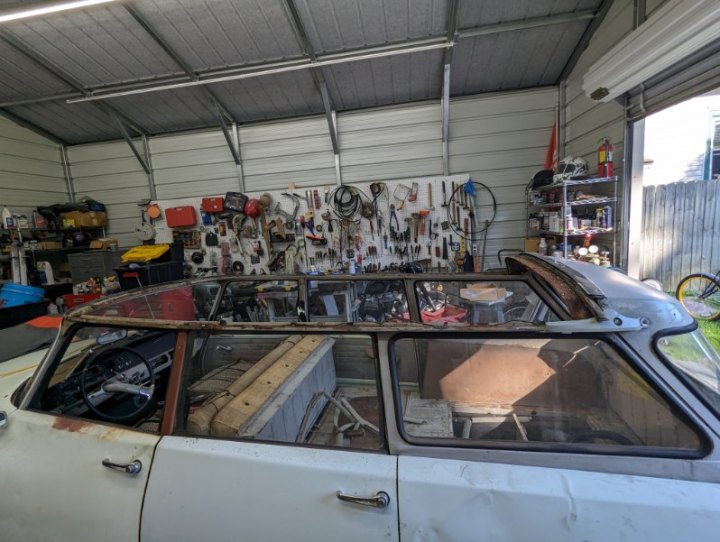
It’s time to start addressing cosmetics. This is a long, long road on any D model, but It’s relatively straightforward since the nice engineers at Citroen decided to bolt all the painted panels onto the chassis. For the life of me, however, I don’t understand why they made the ID Break models’ chassis’ grey instead of black like the sedans, but that’s another gripe for another day.
Note: Doing a sedan roof is similar, except the Break roof is steel. There are more fiddly bits to deal with at the rear of the sedan, but in some ways it’s easier because you’ll need to align the tailgate and tailgate seals when you put everything back together.
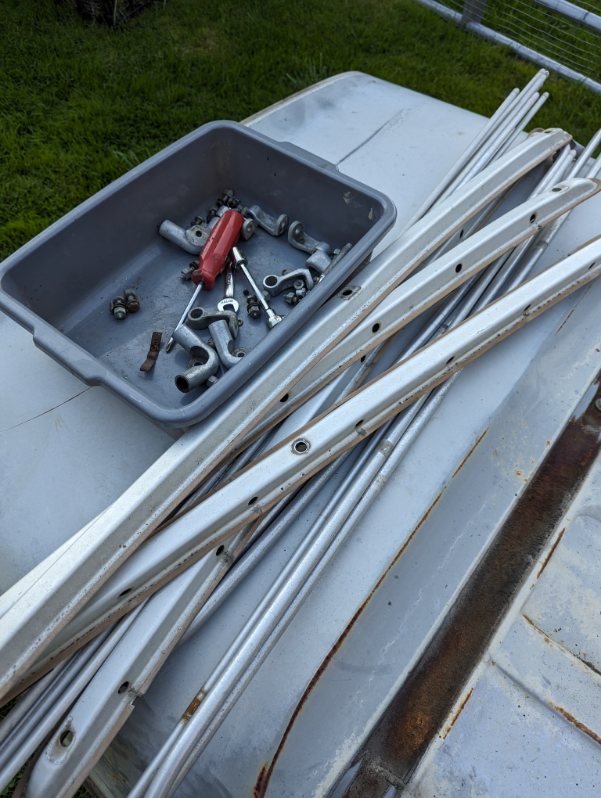
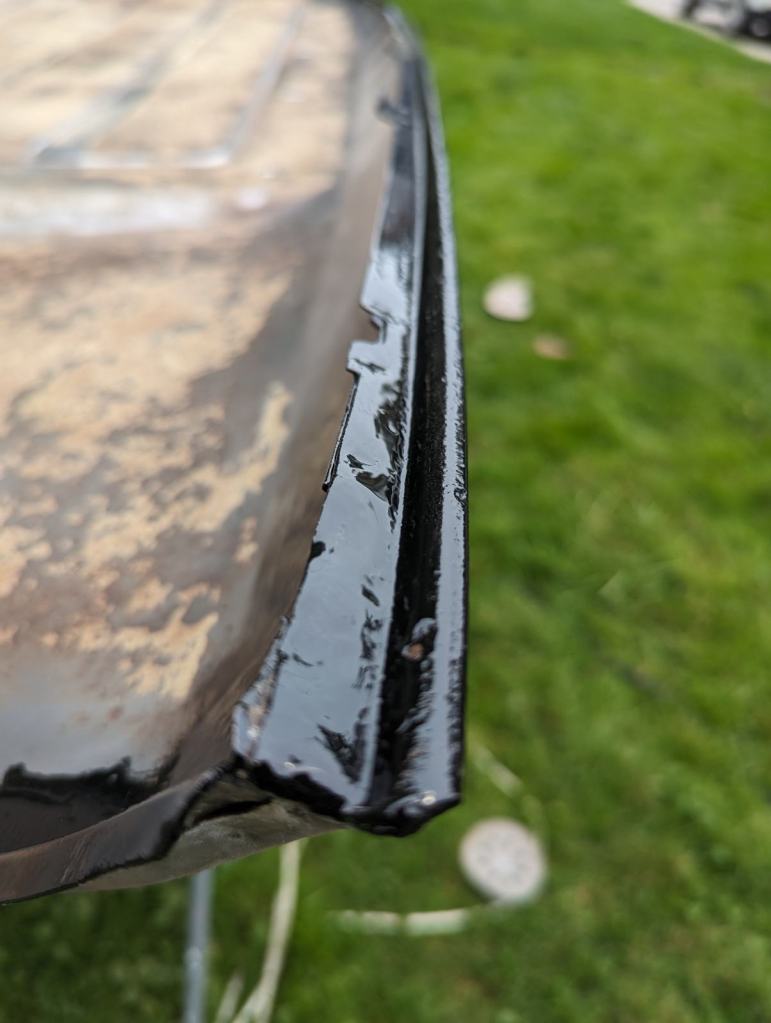
First, start by removing all the stainless steel trim from around the edge of the roof. This isn’t much of a deal, except I have a few tips:
- Start from the front and work your way down each side
- Note how and where each piece fits into it’s neighbors and take pictures
- When they are all off, tape them together so you don’t mix right and left up
- Take some time and polish them out. It’s not hard to do and makes a beautiful difference to the finished work.
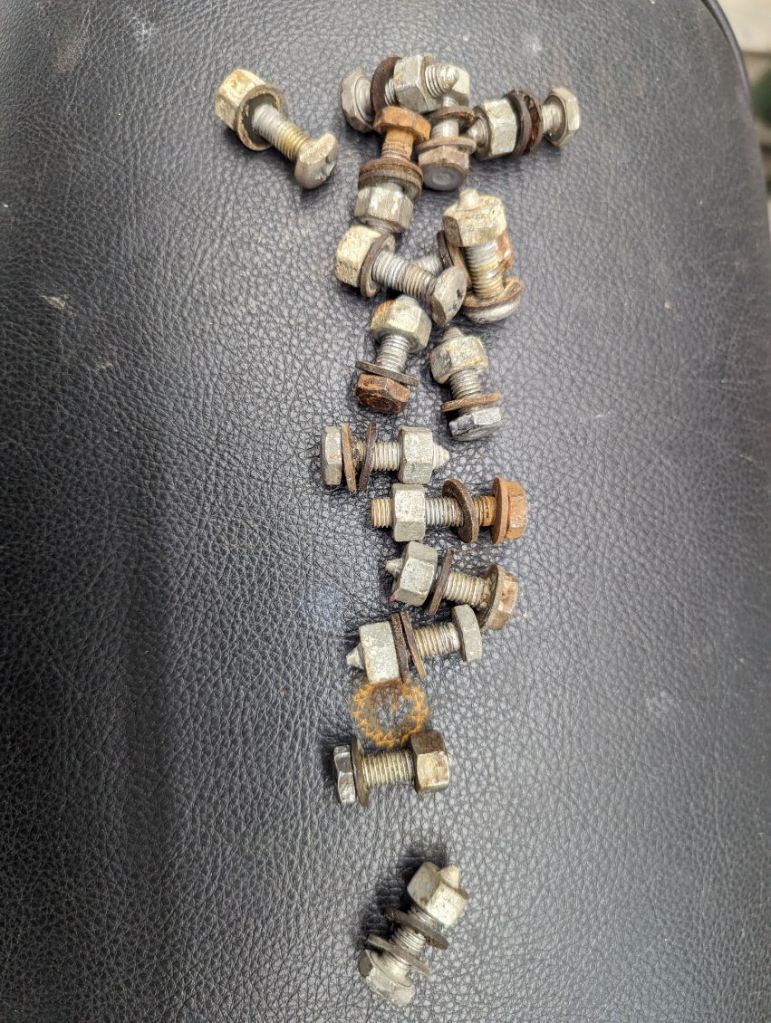
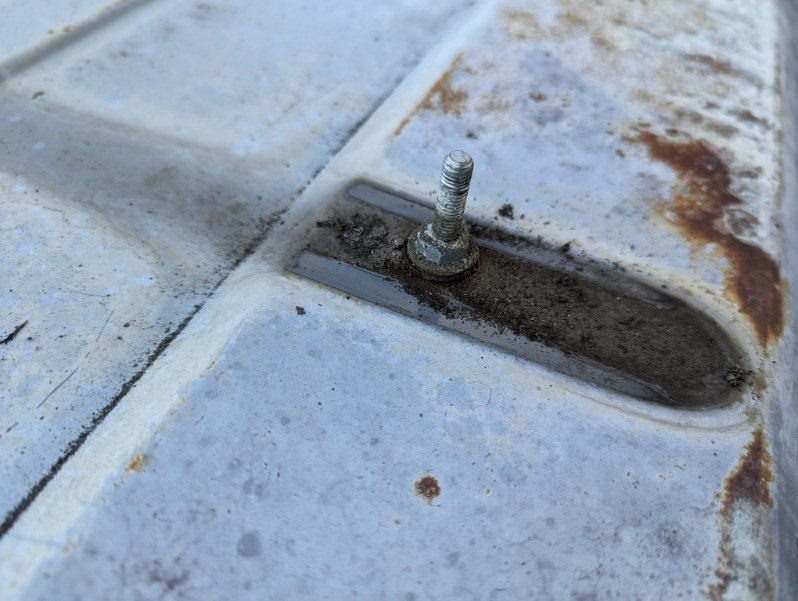
Now we’re getting into the nitty-gritty details. Start removing all the bolts around the perimiter of the roof. You’ll notice in the picture below that there are a few phillips-head bolts with shaved sides. Those are the ones that go in the front around the top of the windshield. Don’t do any pushing or shoving yet, just undo the bolts. They are 7mm thread, and early ones have 12mm heads, later ones are 11mm.
There’s plenty of work left.
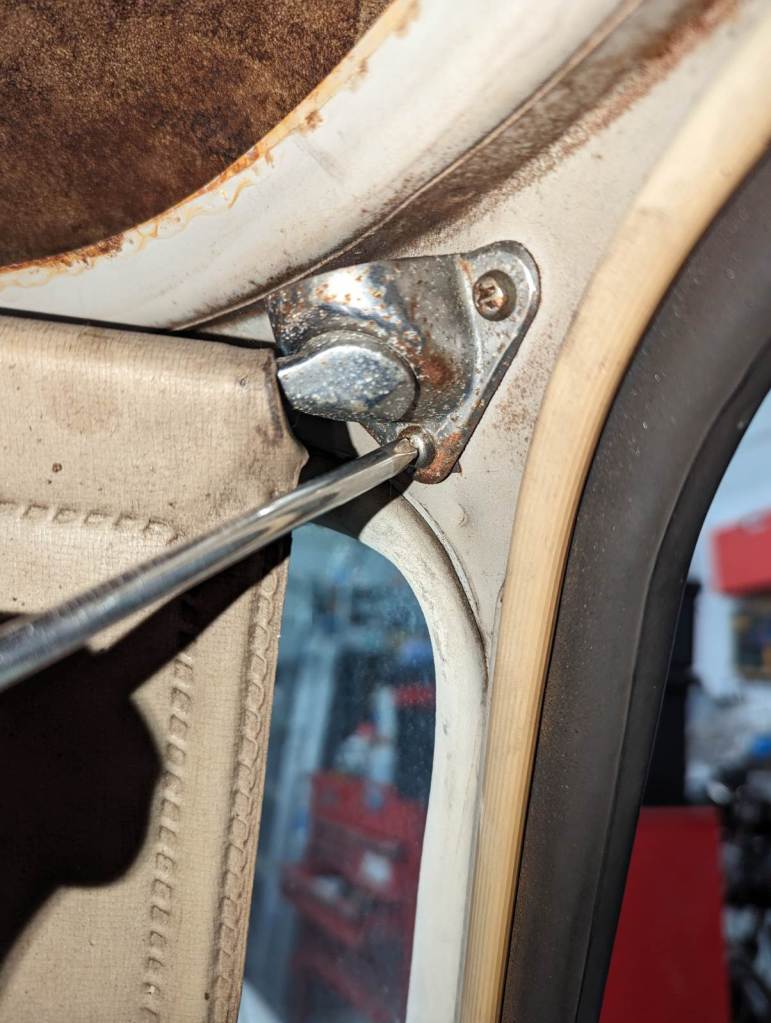
Look at the picture to the right. You’ll see that the sun visor bolts to the chassis with three screws. You must remove the visors at this time, because…
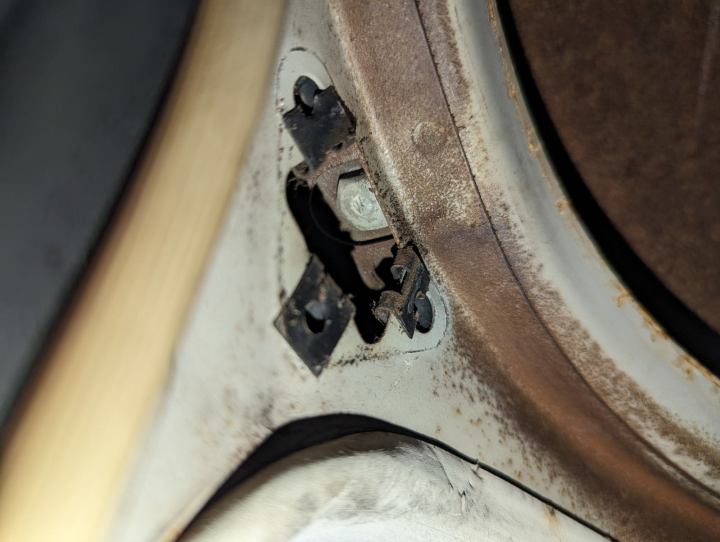
Yup. there’s a roof bolt in the corner. This bolt is special because it has a large, mostly-rectangular washer that helps to clamp the corner to the roof. Before anything comes off, these bolts definitely need to be removed, or damage will occur because it was forgotten. If you have a “stubby” socket, that will fit best with a “wobbly” extension.
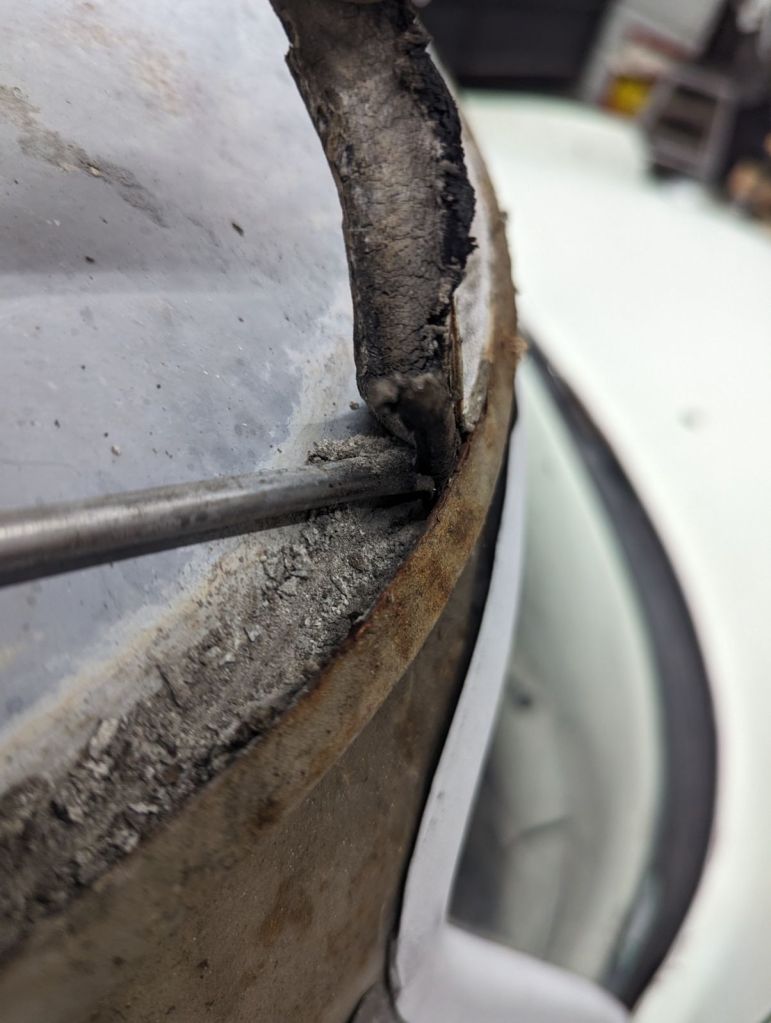
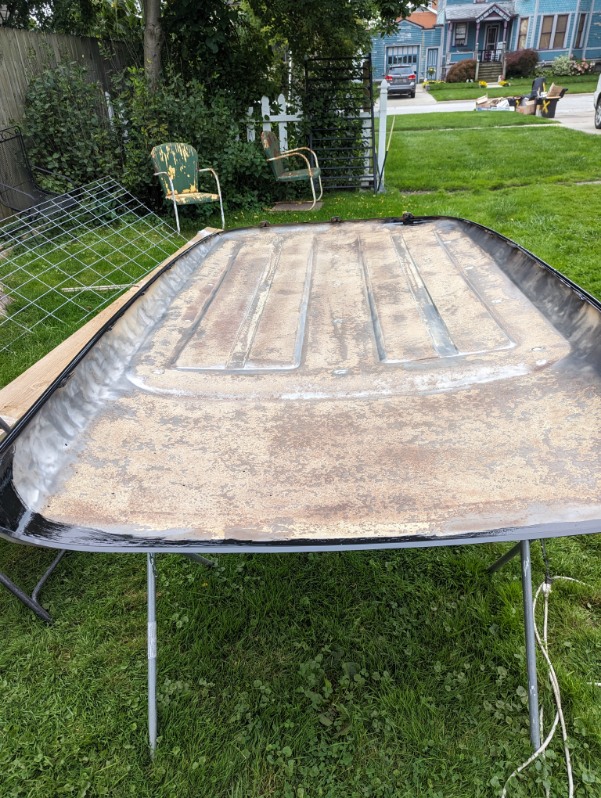
Now for the fun part. Removing the seal. I have an earlier car, which means that there is a rubber seal. Later cars may be bonded to the roof rail, but I don’t have experience there, so I only talk about what I know.
There is no easy way to do this. I used a paint spatula, a flat-head screwdriver blade, a dentist pic, lots of nasty words and plenty of muscle. Take your time. The object is to not “force” it. Just keep removing stuff until you can’t remove any more stuff.

I treated the entire chassis/roof mating surfaces to a POR-15 bath after completely removing rust and other nasties. This should protect it for the next generation of caretakers!
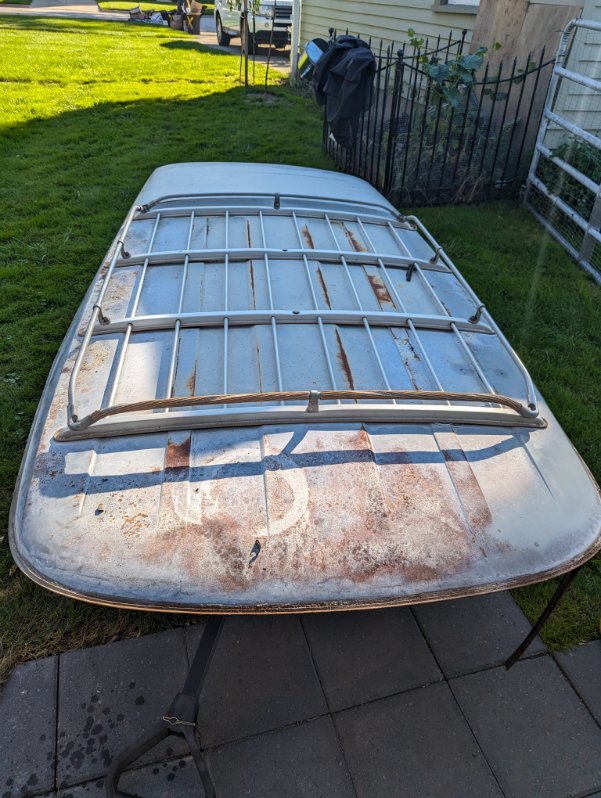
Leave the roof rack on at this point because it is MUCH EASIER to move the roof around with a friendly assistant. I have a large garden wagon I put it on so I could move it around.

Remove the roof rack and all of the pieces. They are anodized aluminum and are probably old and crappy at this point. I plan to eventually strip the anodizing off and polish/clearcoat them, but in the short term I’ll probably just use “Aluma Blast” and make them a consistent dull aluminum finish.
The rack is held to the roof by strong studs. I elected not to remove these, but strip and clean everything around them and keep them in place. There was no rust or corrosion around them and after hitting with a wire wheel and grease cleaner, they were as good as new.
Underside of roof after stripping with heavy wire wheel on an angle-grinder. Note that I painted the mating surfaces with POR-15- once they were perfectly clean.
The Roof is Primed and ready for paint. In the next article I’ll explain what happened and what it looks like now!


Leave a comment