
Everything I did. Plus, It’s Powder Coated!
I painted the roof Range Rover Alaska white after carefully blocking it out. The problem is, I didn’t have enough clear coat to really give it depth, and when I started to color sand it, it broke through the paint in a couple of places. I then block sanded it down until it was smooth, and let it sit for a couple of weeks to be sure that the underlying paint had cured.
As soon as I began to lay down a sealer, it wrinkled like something silly, and well, at that point, I new I was going to have to get the roof stripped. I have a stripper that uses walnut shells, and he wanted $100 to clean it up. I decided to ask him… Hey, what if you just powder coared the thing white? He said $150 would do it and to come back in three days. I thought, “what the heck, let’s give it a shot!” Here are the results.
Bolting the roof on is the opposite of taking it off. Start with the very front and work your way around, making sure the seal and connections are tight and workmanlike. You may have some issues as you get to the back. What I did is used longer bolts and tightened them up, and used a little soapy water and a plastic tool to stuff things in properly. Leaving it overnight helps. I put a new roof antenna in too!
Polish the stainless steel roof trim before putting it back on. Harbor Freight and others make a “green” grit that really works well. The widest piece is in the middle. The short piece with the angle is the furthest back, and you’ll be able to see when you can start there, and work your way forward a piece at a time. The next piece is the longest and it goes over the rear window and you’ll immediately know how it fits into the one behind it!
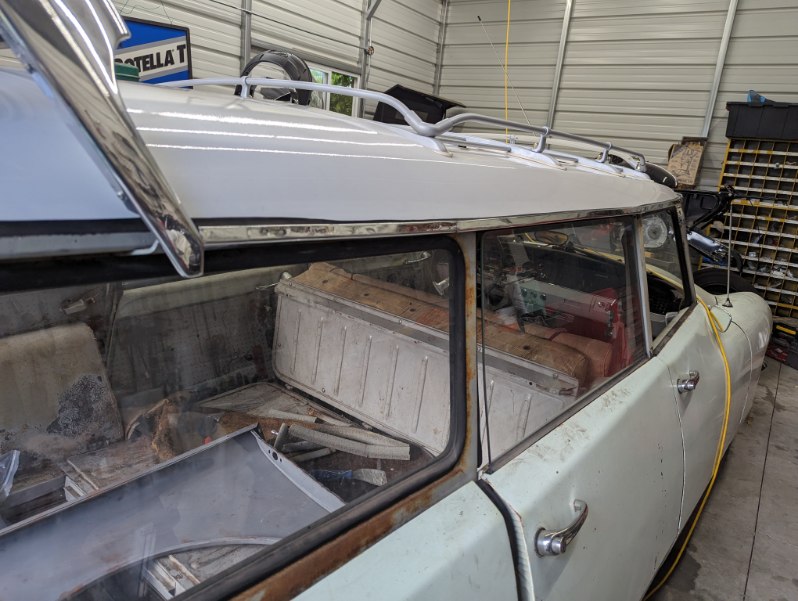
The front piece installs last. There is a bolt and a screw in the door frame. Make sure everything clears the window nice (CLOSE DOOR SLOWLY). Fit the very front with it’s joining piece last when both sides are on, with appropriate screws.

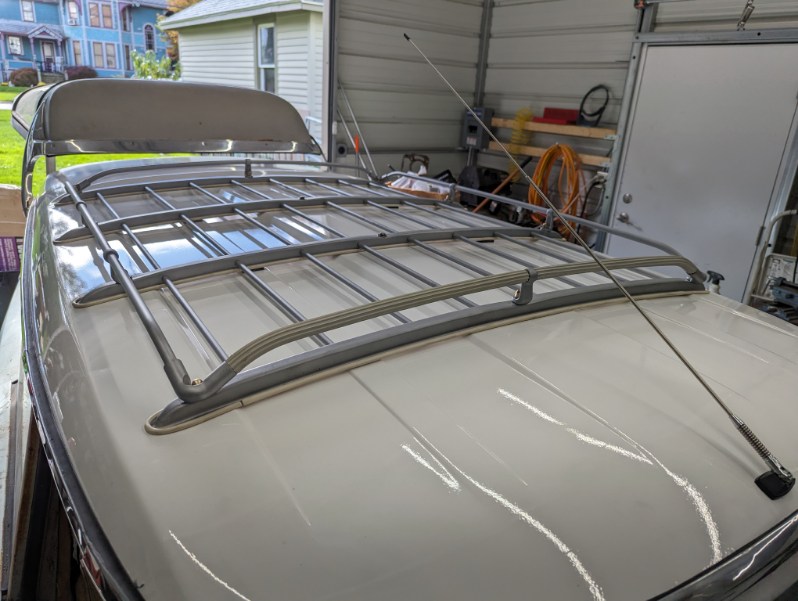
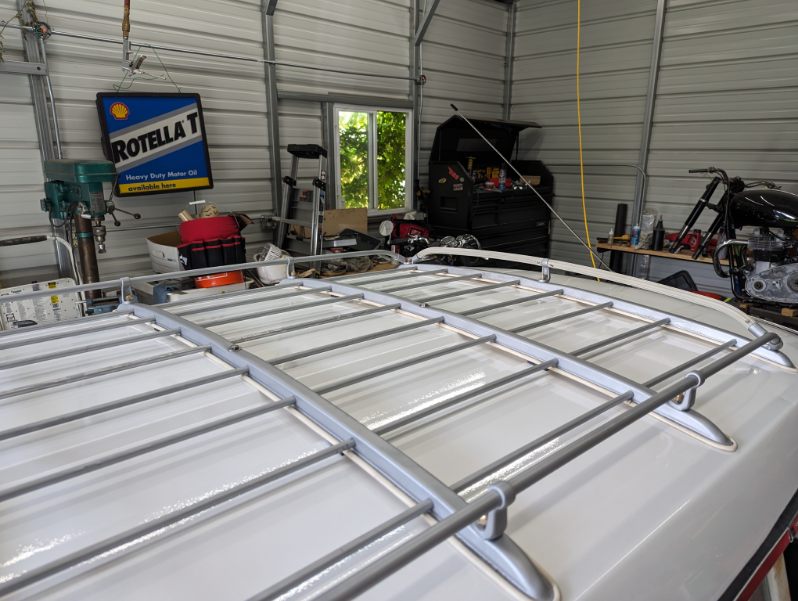
I plan on addressing the rack later. I used AlumaBlast paint on the aluminum for now, and installed new rubbers and gaskets. The plan is to get them de-anodized, then polish and clear-coat so it really pops. Installing the rack is like a big puzzle. Don’t bolt anything down until it’s all in place, then start with the center.
Roof Rack installed
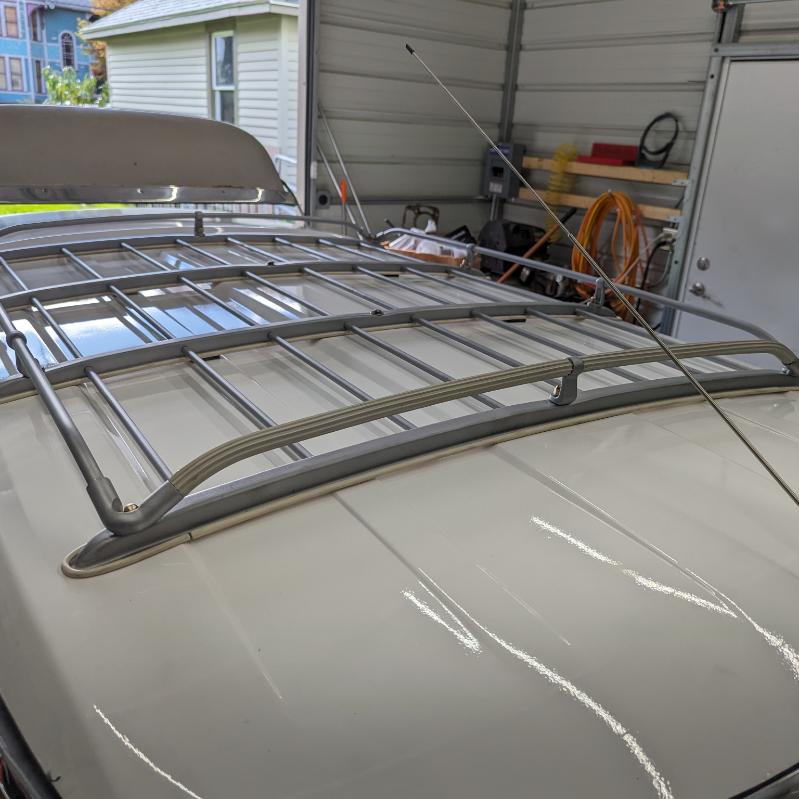
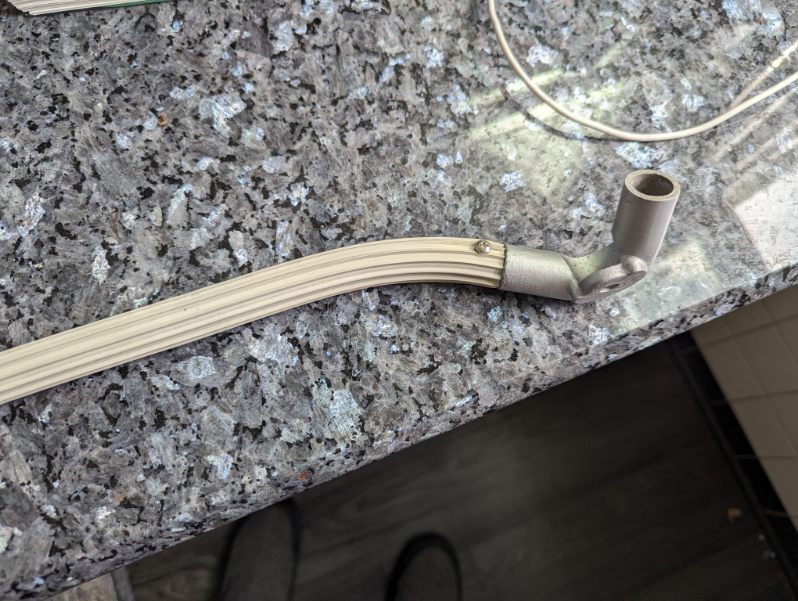
Detail of Roof Rack ends. note the #4 screw location. I didn’t twist the rubbers, thinking it would be all pretty to do them straight. Turns out they are twisted at the factory because if you don’t THEY WILL WHISTLE AT SPEED! Should take all of five minutes to fix — I installed the rubbers with soapy water.
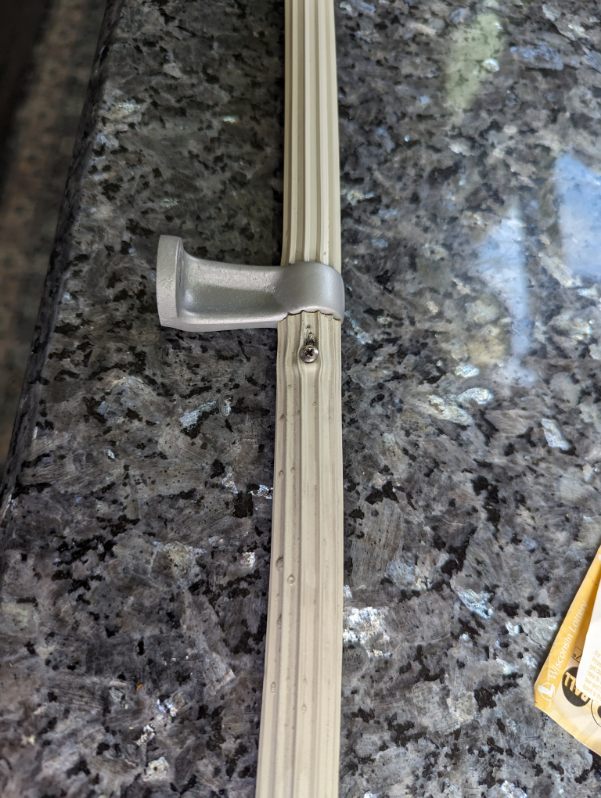
Detail of Roof Rack front. I did install teh second screw as well. Measure it and put a piece of tape down.


Leave a comment