
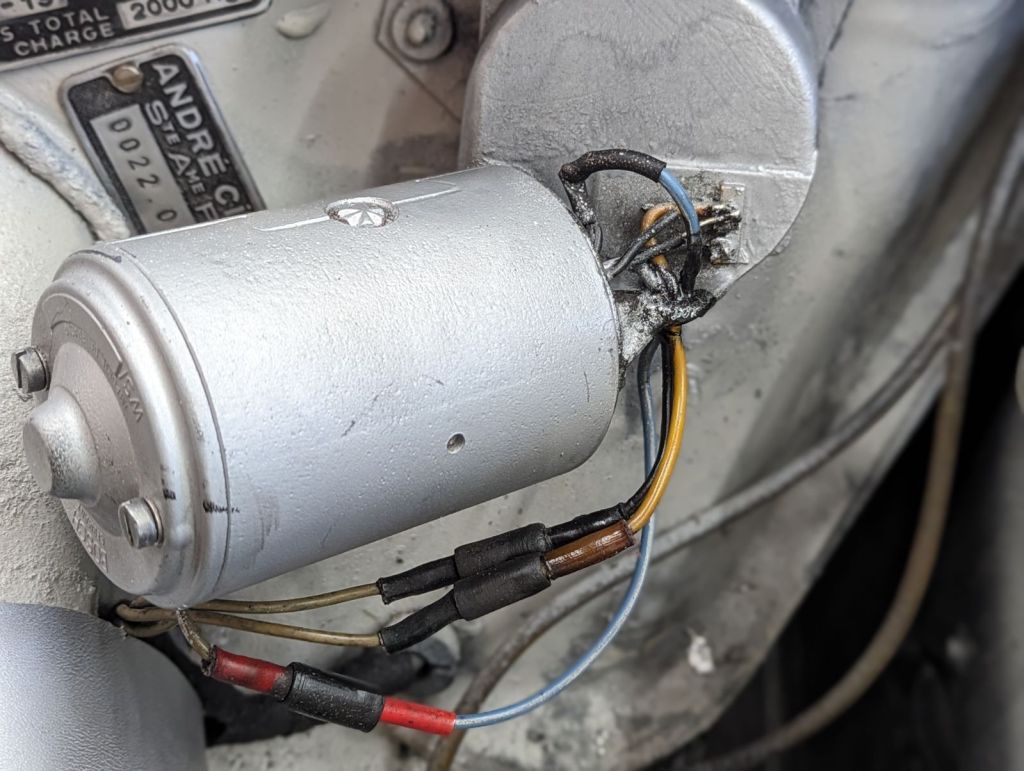
While putting in the windshield, it was also important to clean up everything around it. I took out the Citroen ID plates and cleaned them up, and also took out the wiper motor so I could paint around it, not really knowing how deep I was going to get into it after I took the two long bolts out of the top of the Bosch SW two-speed wiper motor.
I. Learned. A. Lot. Read on and you’ll hopefully miss some of the pitfalls and mistakes that made this process a LOT more intense that it needed to be, but in the end I now have a solid understanding of how everything goes together, and even more, I have really, really good two speed wipers!
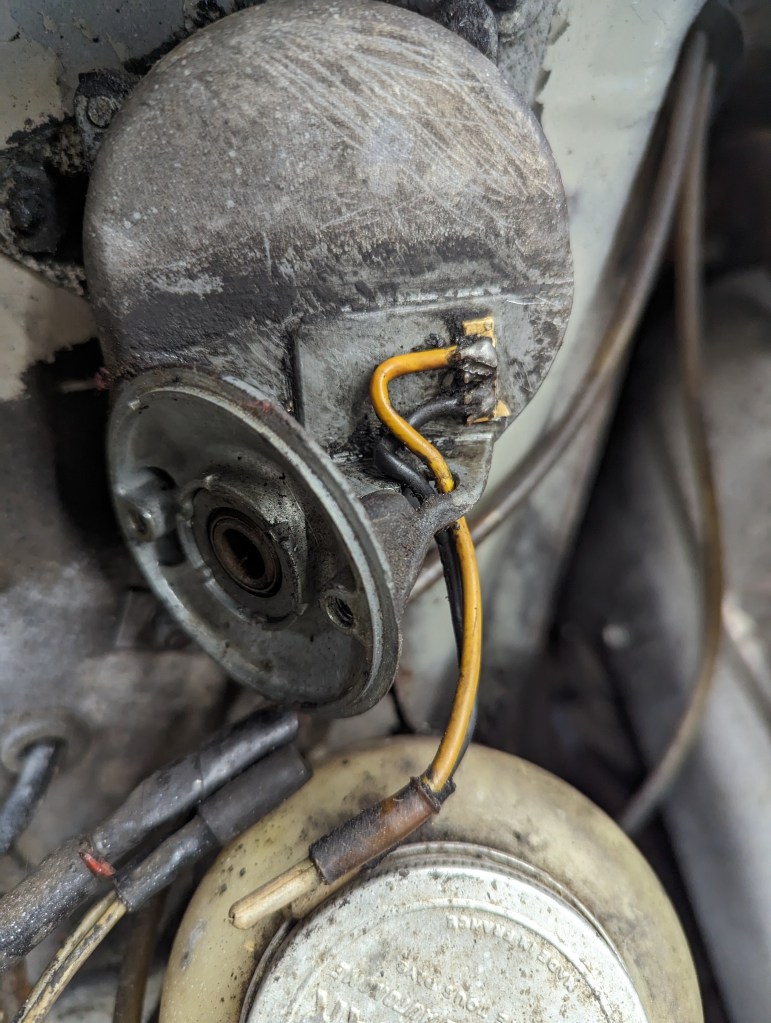
I started off by unscrewing the two screws in the wiper motor, so I could remove the housing, inspect the brushes and contacts, and generally clean stuff up. It’s ok to do this, but if you go at it ham-fisted, you end up looking at 60-year-old wiring that looks like this sticking out of the back of your motor.
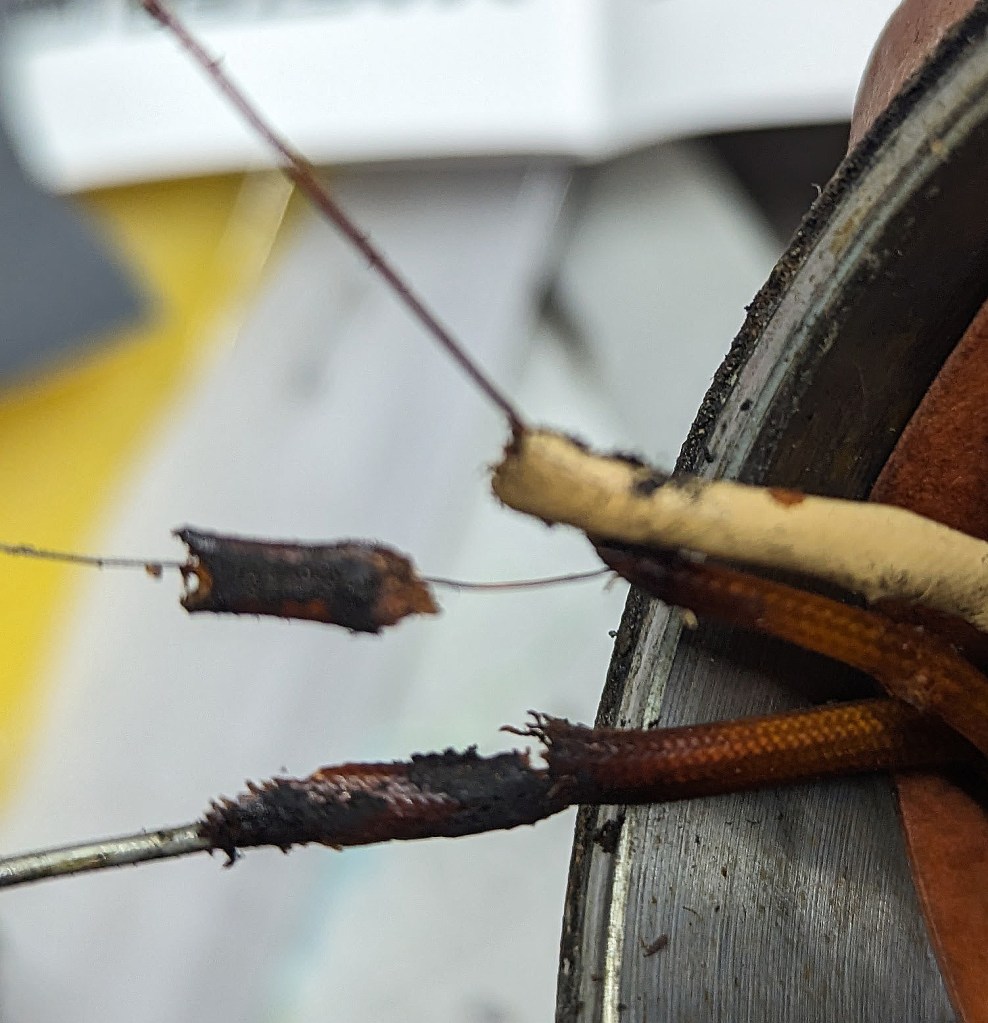
This has a LOT to do with the fact that wiring gets old and brittle, especially the fabric-backed kind. What I wasn’t ready to expect was the extremely tiny, sub 22 gauge wires that were dangling into space, with me having ZERO clues as to what they were supposed to do.
The Citroen group was a lot of help, but most have two-speed wipers that had three mating points on the front of the unit. Mine only has two! So how do three wires work with two connection points, especially when one is always hot?
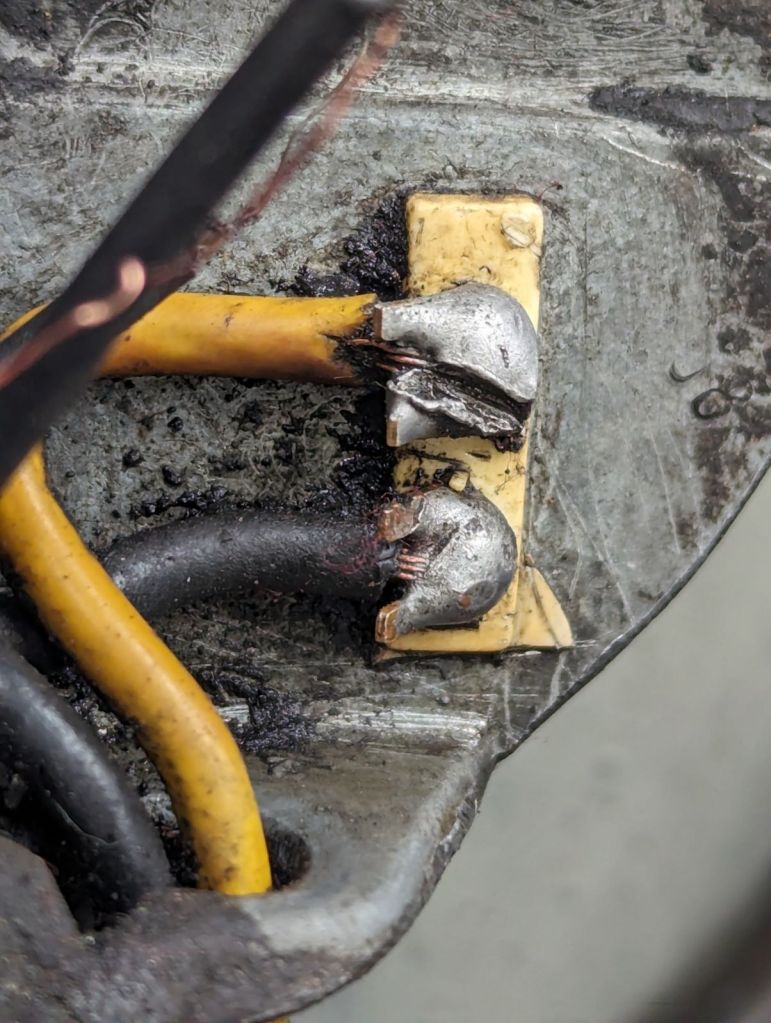
As you can see from the picture above, there’s only two connections in the block. and believe me, after trying several combinations, NONE of them take two wires. If you connect the larger-diameter (looks like solid 18g wire) that comes out of the motor, this will give you the high-speed connection, but also it will NOT park the wipers when you shut them off. They just stop wherever you click them off, and you only get one, annoying, fast speed. So that leaves the other two wires….
First thing I did, was clean up the wires and put some heat-shrink tubing on them to protect them and keep things from sparking and shorting out until I knew where things needed to go.

Then I ran a test light to find out which wire went where. The thin wires I had were very different. The guage was the same, but one was silver, and the other copper. I made a note of this as I checked combinations.
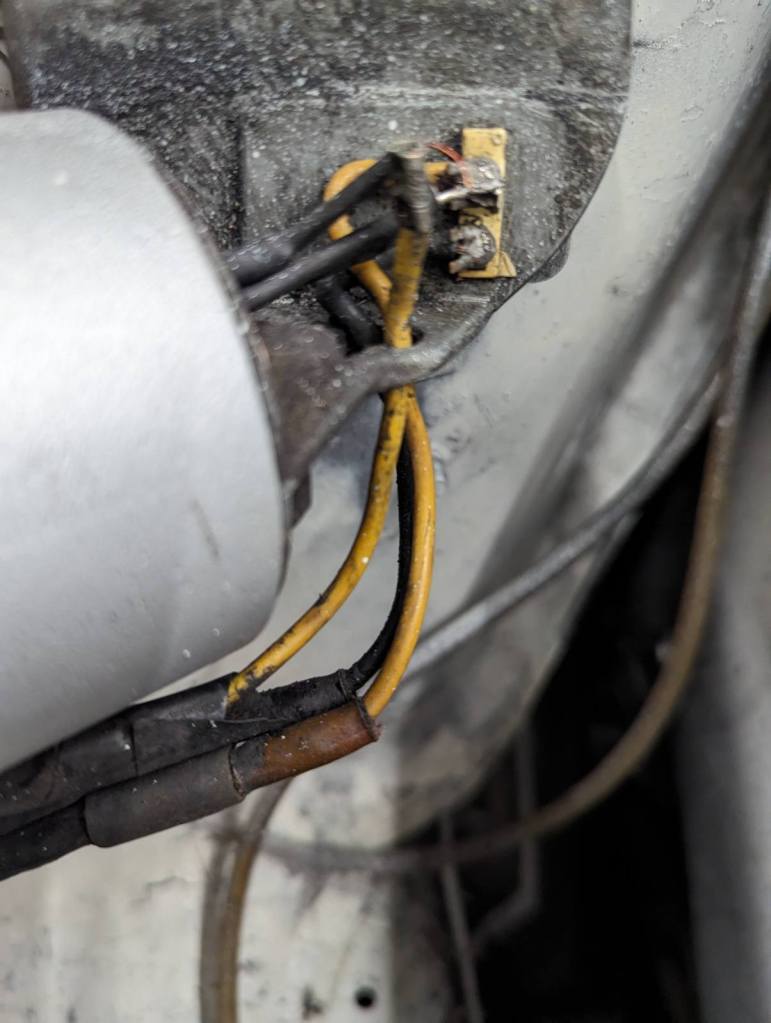
I also noted that there were three wires coming in from the dash, even though only two were hooked to the connection block. This gave me pause. If you look at the picture above, you can see the two yellow wires, and also the black “power” wire”. I cleaned all that up as you’ll see.
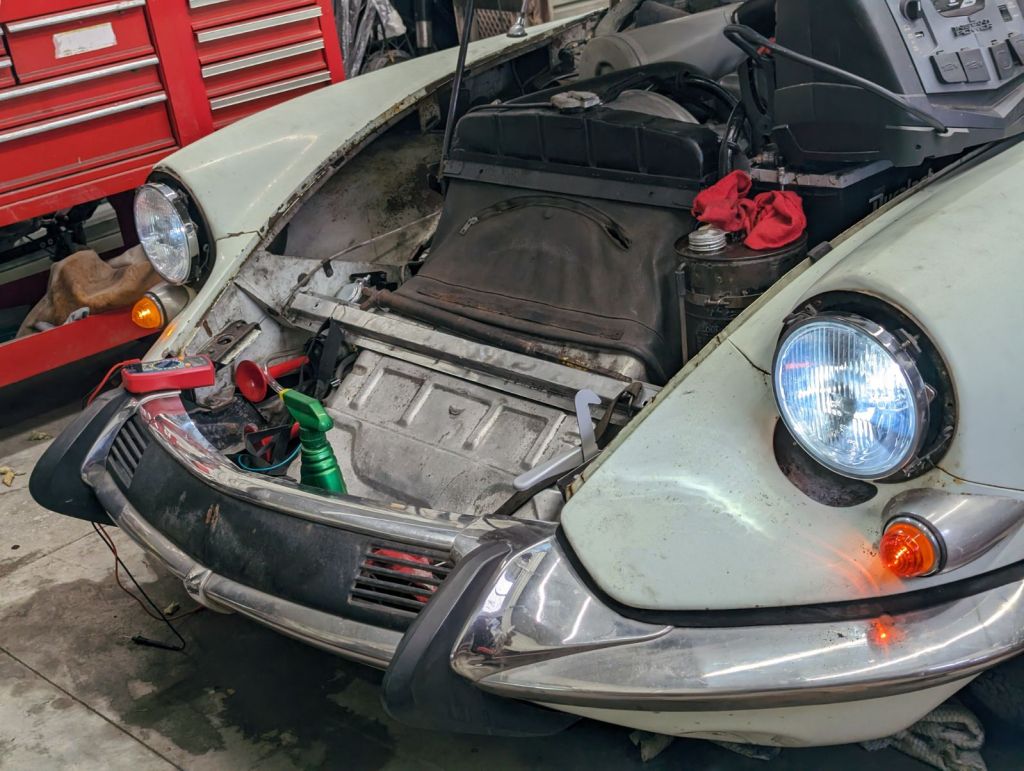
The next thing I ded was got out my dentist pics and began cleaning everything up. Everything. I removed the filthy washer bottle at the bottom of the picture and restored it, and also cleaned up all the wires and connection terminals with new replacements. Do it once and then you don’t have to think about it anymore.
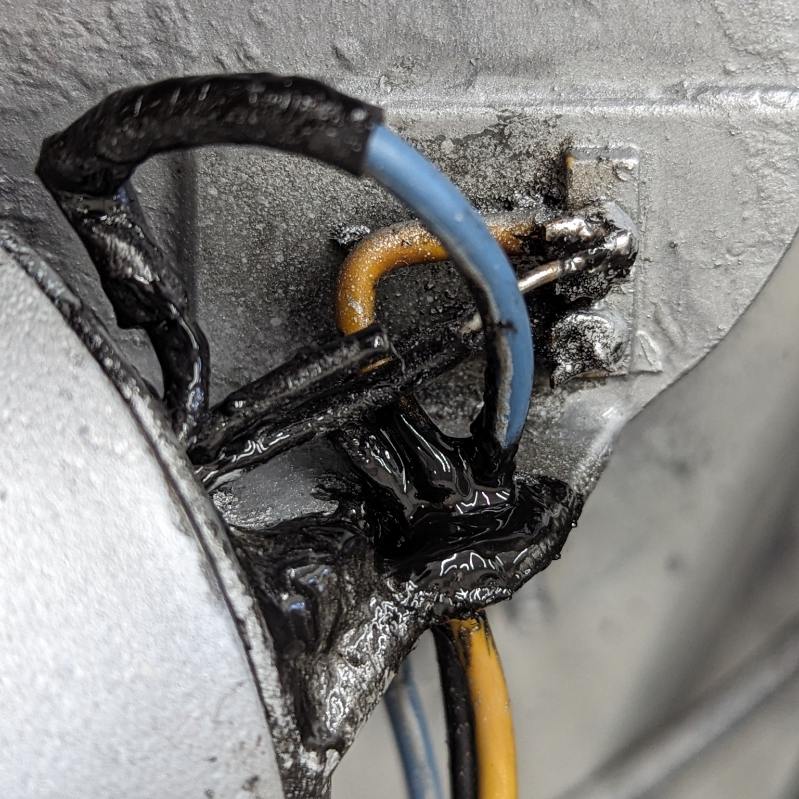
I replaced the wire with the red terminal end with a blue wire, then soldered it to the small, silver, thin wire and added heat shrink for extra stability. As you can see, the thick wire went back into it’s place and was also soldered back it’s spot after I thorougly cleaned the living snot out of everything.
The small wire with direct feed gives the park feature and also slow speed. After checking with a test light, it powers up only half the windings in the motor. The thick wire powers the rest. It makes sense, because the thin wire is only drawing a little power, but when the power increases as well as the RPM, the amperage needed should have a bigger wire to handle the duties.
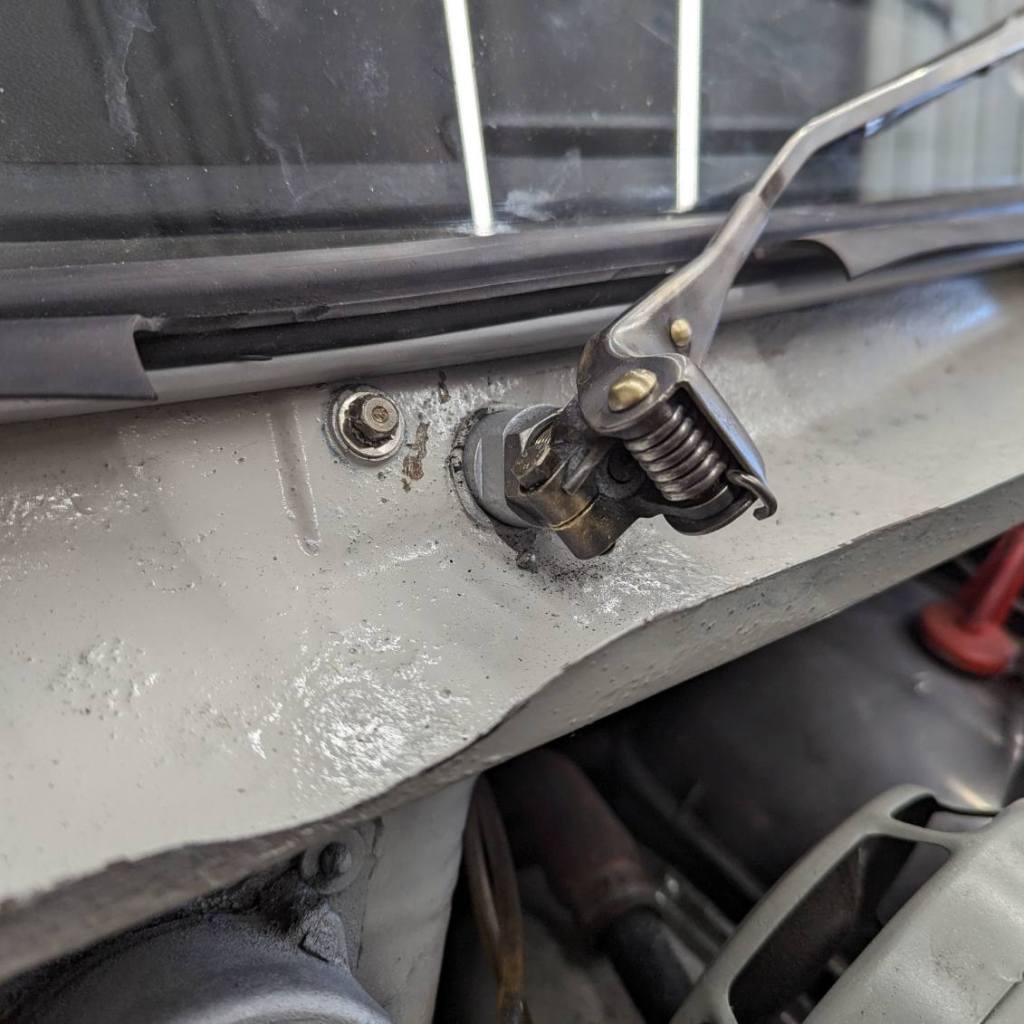
The copper wire is just cut off and you can see it in the picture. There is a lot of black goopy stuff, and that is liquid electrical tape, the stuff you get on Amazon. I put a glob of that in the supporting hole for the wires coming out of the dash so they wouldn’t move, and a little bit on the entry into the motor and the top of the cut copper wire for good measure. I then cleaned off a lot of the extra nasty spots with acetone, and finished by masking and spraying with either Alumablast or RAL7044 grey paint for the dash, as you see the finished product here:
Yes, it’s the same as the first picture. But now you can see how I got here!


Leave a comment