
My instrument cluster was a disaster. It has never been touched. Everything pretty much works, but I need to clean up the light contacts, check the wires, and while I’m at it, clean up the clear plastic lenses, the shiny bits inside that make it glow, etc.
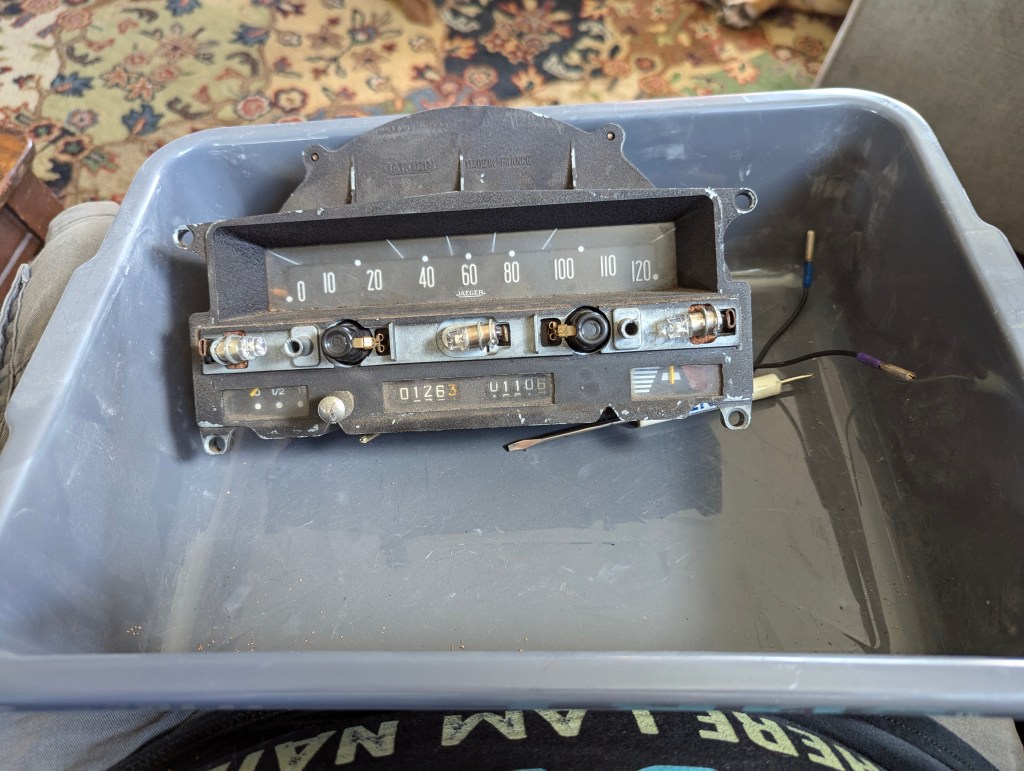
Above, see the dirty, dirty dash that I pulled out of the break. I have a bunch of small bus tubs that I use to keep parts that I’m working on, segregated from other components so I don’t get them twisted up with something else. Sometimes components need a few weeks between R&R, so the tubs can be labeled to make sure I don’t make a mess of things.
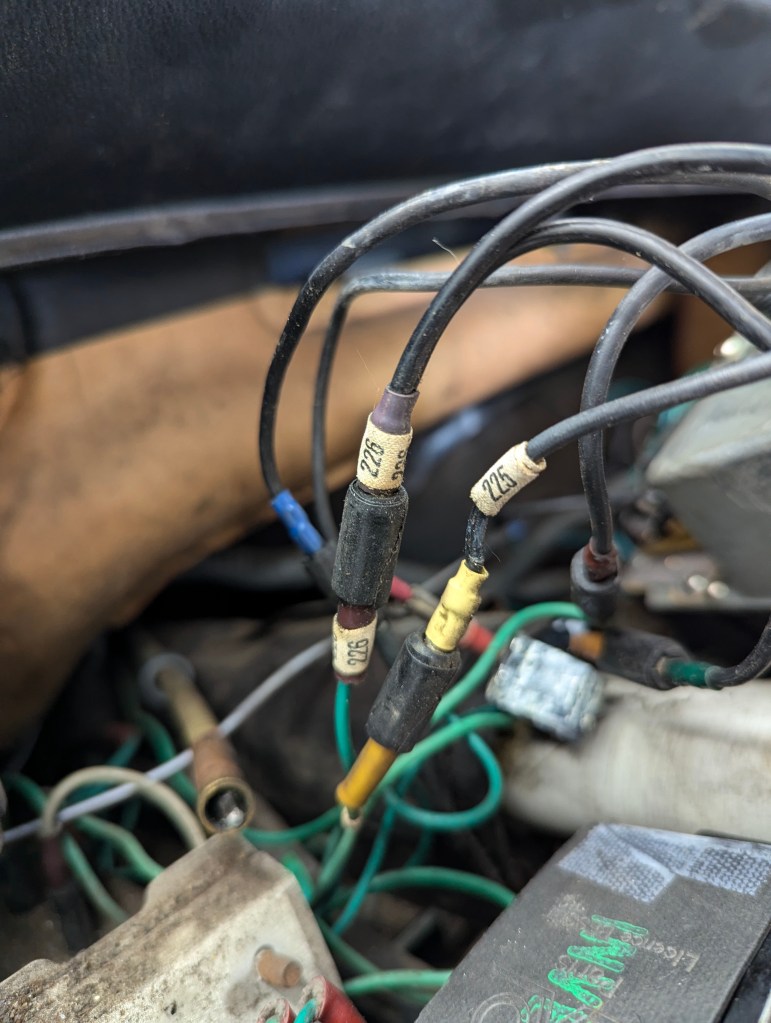
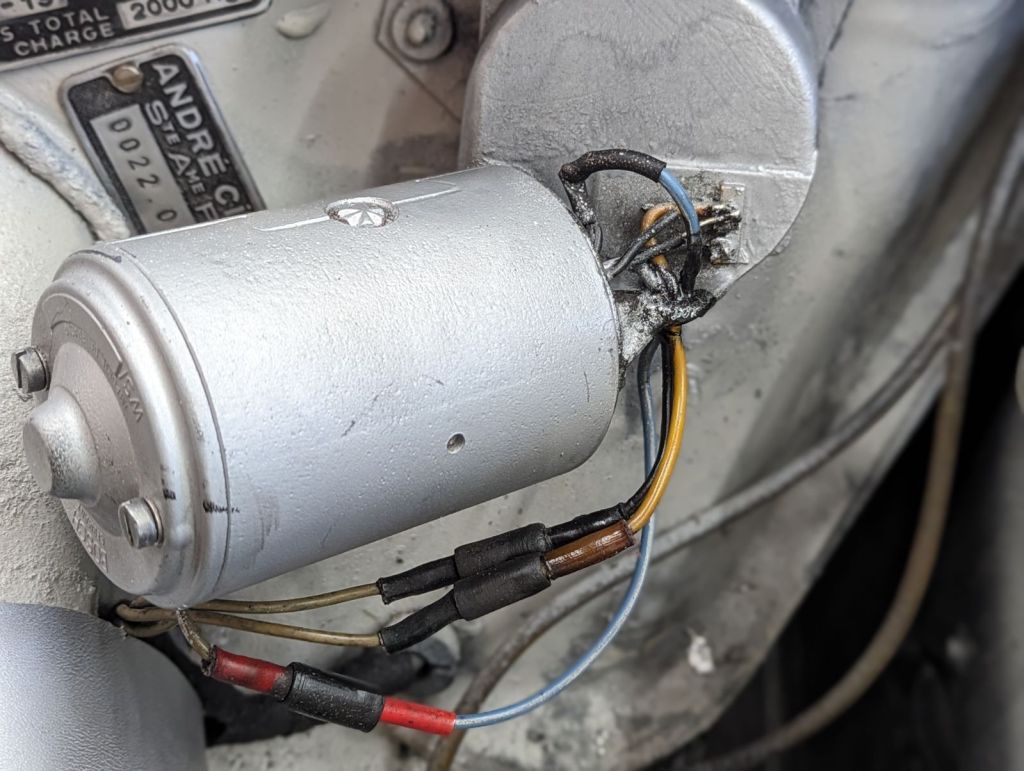
When removing the instrument panel, now is a good time to check the connectors to make sure some previous owner hasn’t changed out the proper connectors for some crimpy things. You can see here above that there’s a few oopsies, but not too bad. I use electrical cleaner spray and a nice rag to clean the wires and anything else that needs it that is covered in vinyl.
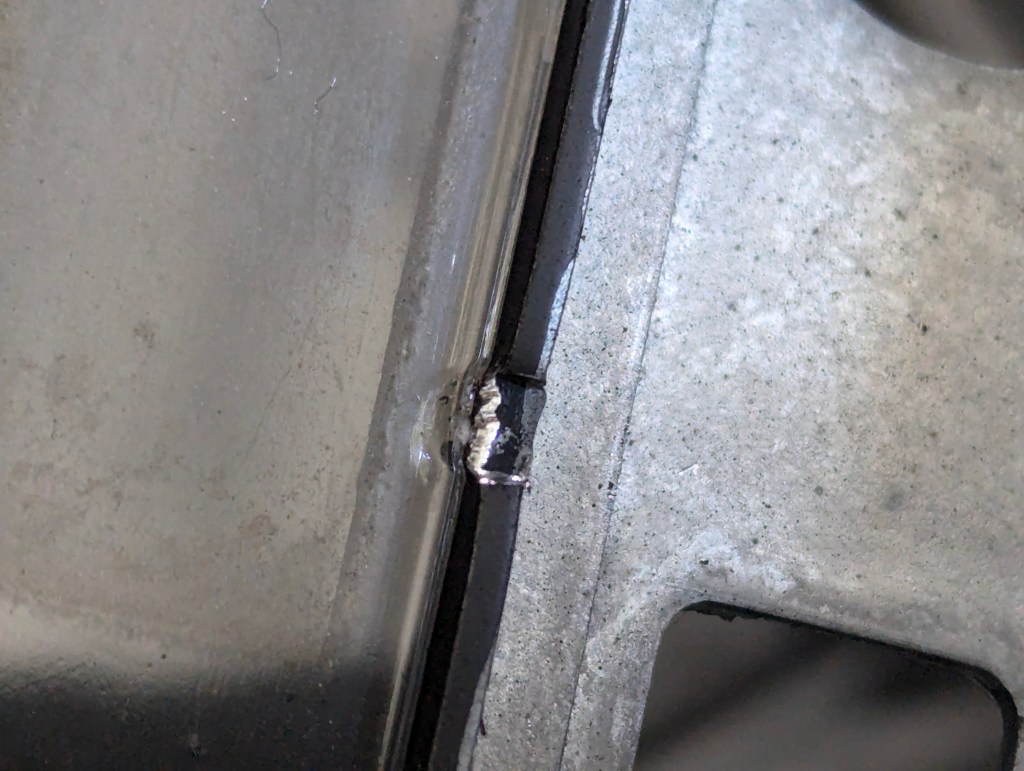
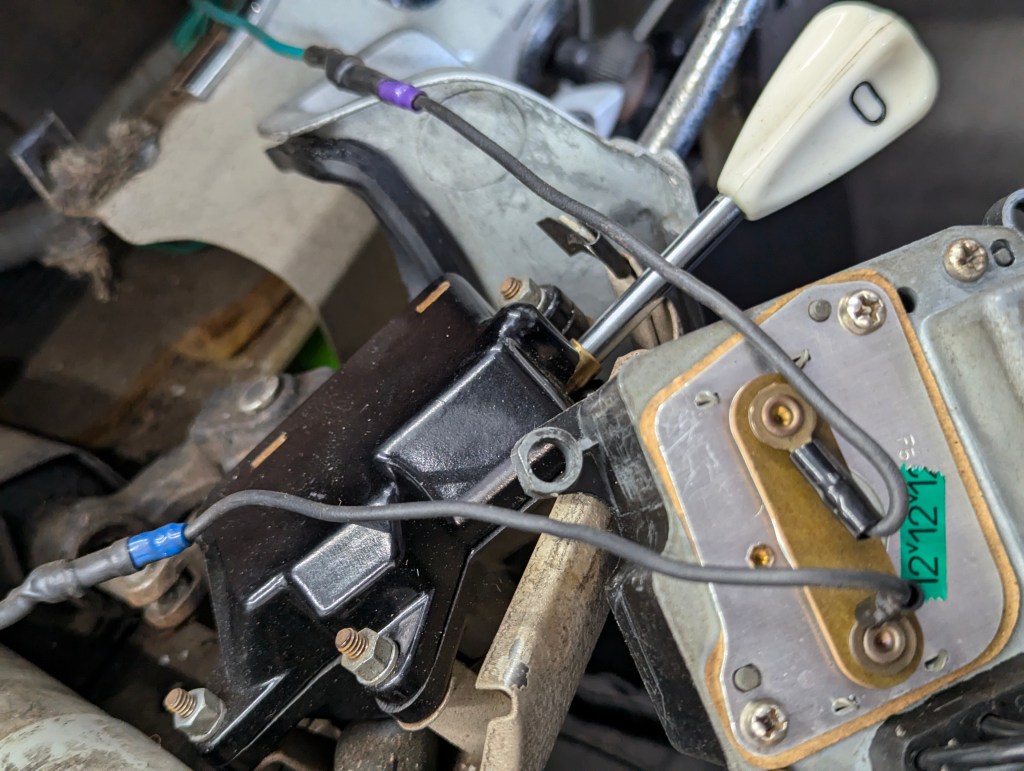
When you’re removing the clear plastic bits, make sure that you see these small tabs that hold them in place. They need a little careful manoevering to get them out. Don’t want to break them because that would REALLY make a mess.
(not pictured) — the colored indicator lights (high beam, turn signal, etc). Be careful removing these, there are more than one layer for each of these. I ended up fixing a missing one with some plastic sheet I picked up on Amazon.

Clean out the interior bits with windex or your favorite chemical. It should be super-shiny. Once cleaned out, mask everything off and then paint the surface with semi-gloss black paint. If you do it right the shiny stuff stays on the inside, and the pretty black stuff stays on the outside. If you have too many scratches in the crackle finish, you’re going to have to strip it and re-paint correctly.
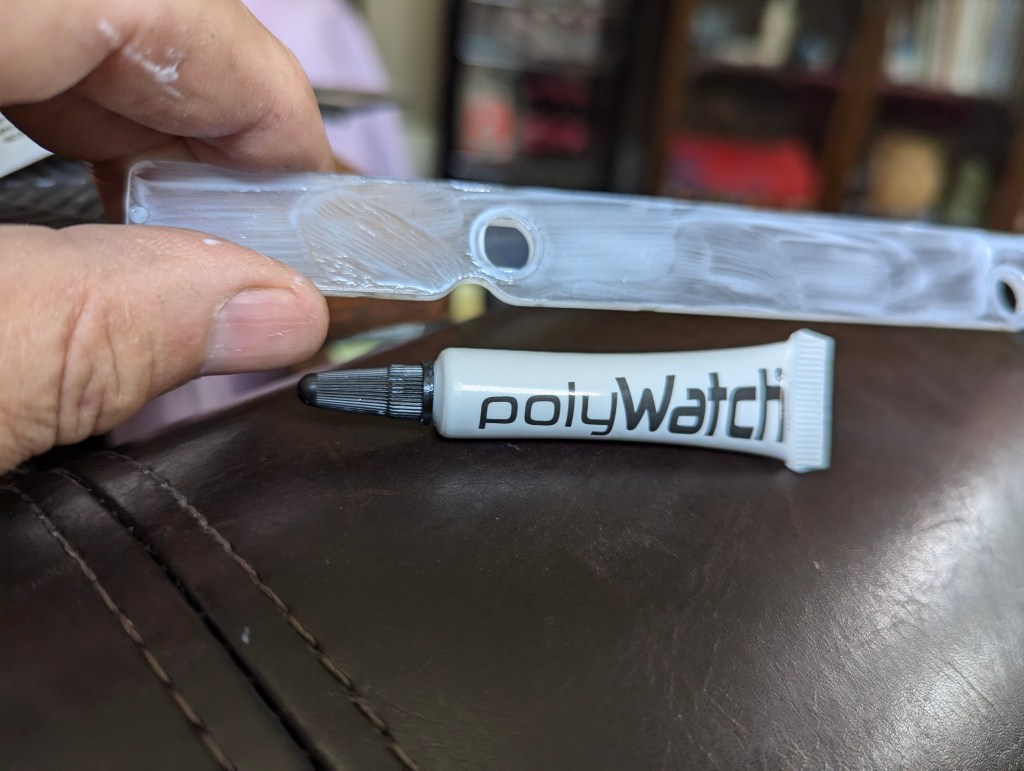
The clear plastic cleans up beautifully with polyWatch, which watchmakers use to get the scratches out of crystals. Stay away from the painted bits, because they will come right off and then you’re hosed.
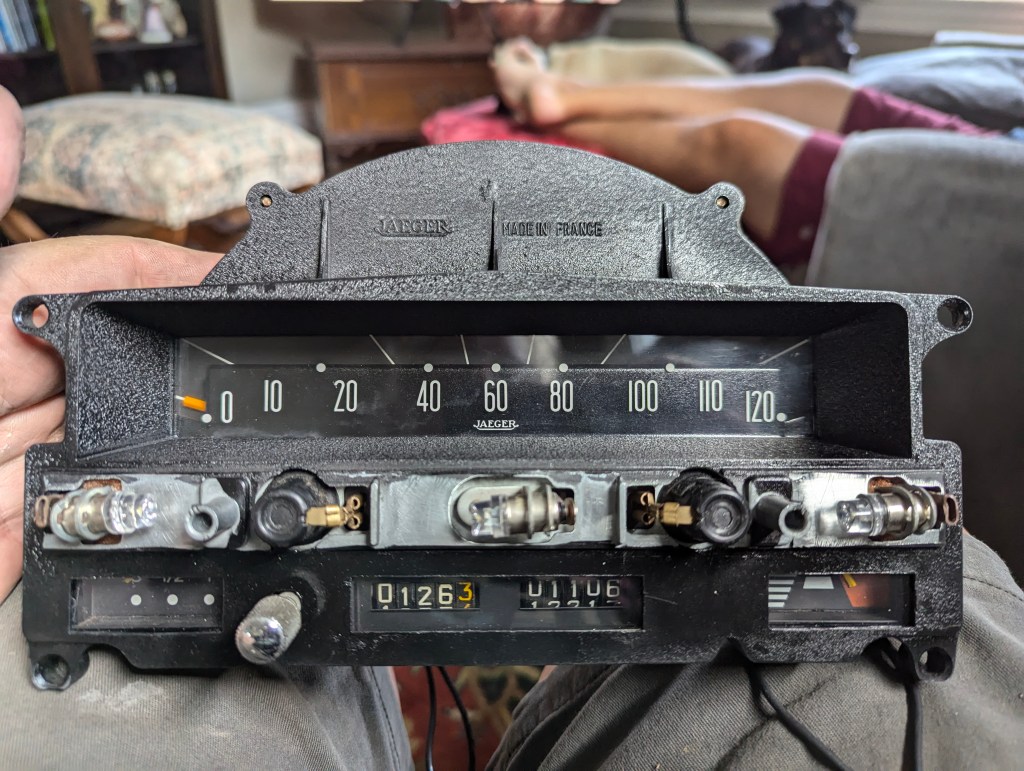
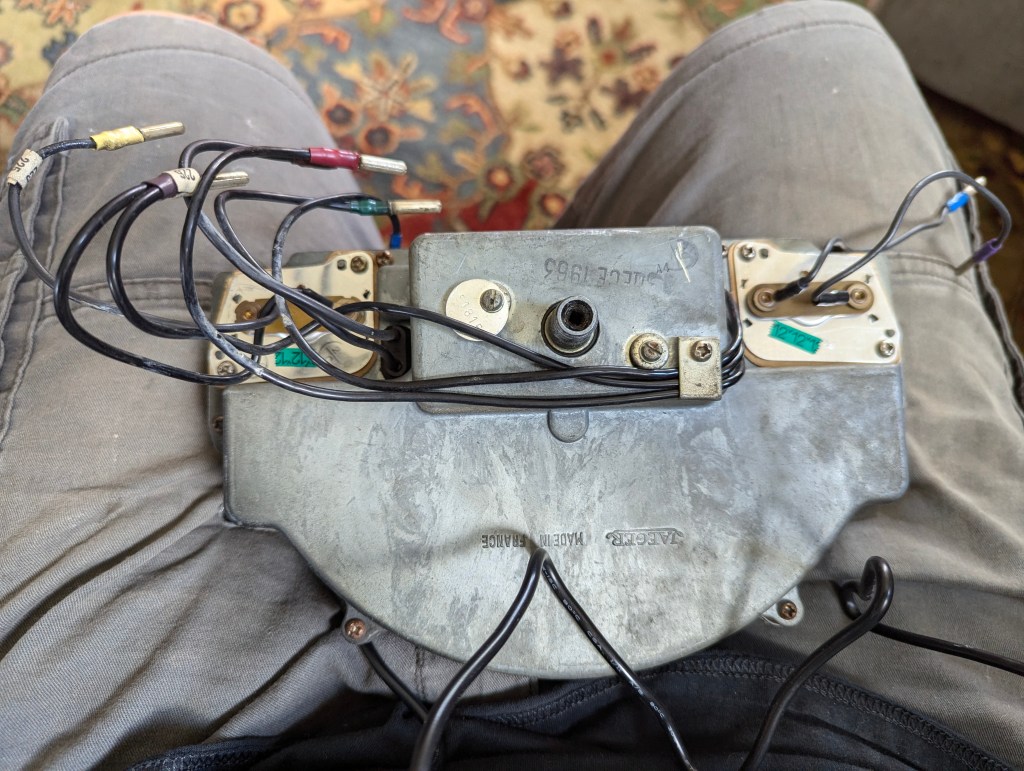
Here is the assembly ready to be re-installed. I used LED lights for everything. The two black knobs you see above are for two lights that light up the interior of the instrument panel. Plug everything in and check it with the switches to be sure that everything is hooked up correctly before screwing everything down.


Leave a comment