

Installing a new cooling shroud canvas.
Having owned nearly all of my D models in the southwest, cooling systems have always been at the forefront of concern for me. I’ve learned the hard way through three blown head gaskets that you need to make sure that absolutely everything is in tip top condition if you want to make your Citroen a good driver. The smallest thing can cause issues, but there are three things that can really make for a bad day in the overheating department:
- An old, rusty, nasty radiator that needs to be cleaned out or replaced.
- A beat up water pump and/or unsecure thermostat (gotta make sure that second hose clamp is on there!
- A torn shroud connector, with bad zipper, leaks, tears, etc.
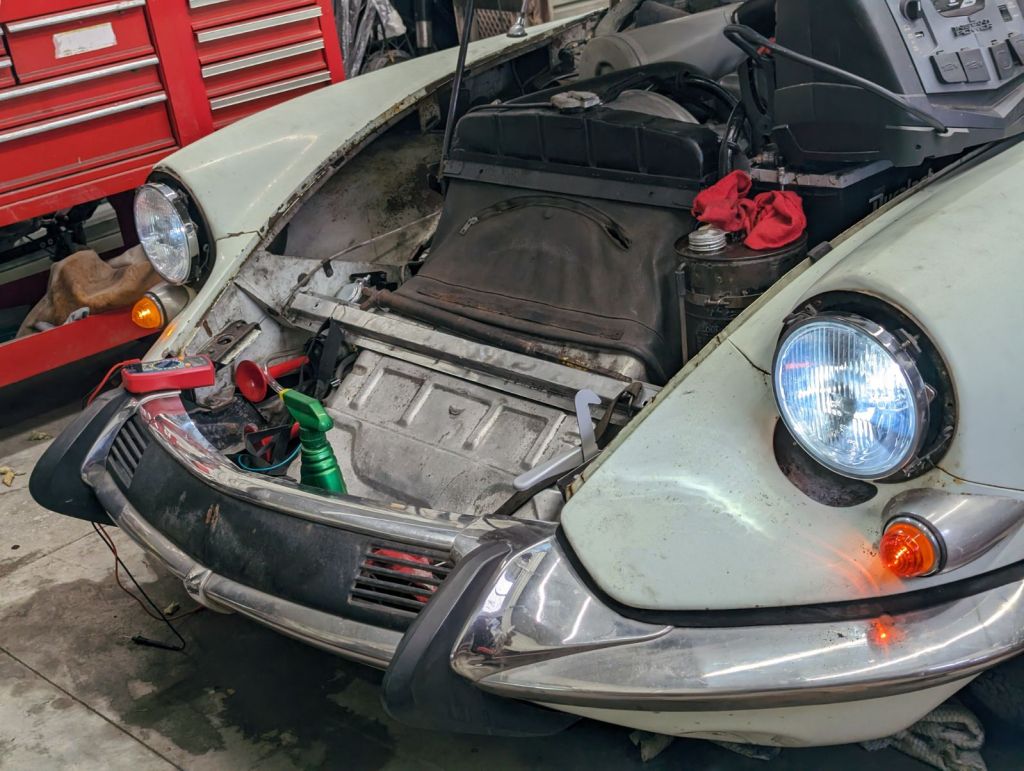
My ID19F had the last one. Possibly the first, but the shroud was really, really bad. I finally decided to get in there and fix the issues. Here is the “before” picture…
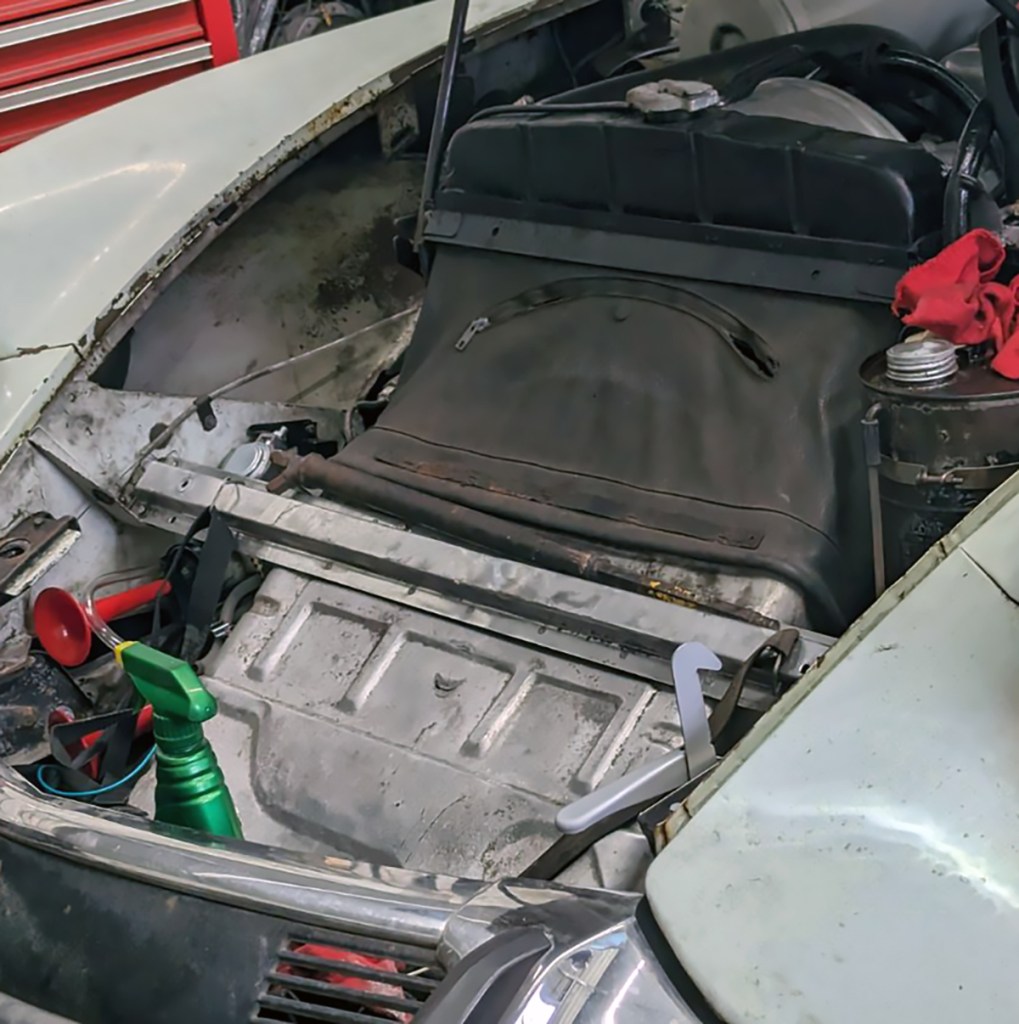
As you can see in the above picture, the shroud’s zipper is broken and any attempts to repair just end up being more torn fabric as it is old, brittle and all the seams’ stitching is rotted. There’s nothing to work with.
I picked up a replacement shroud from Citroen Classics in the UK, as they are a very good supplier, have reasonable shipping rates and get things to me fast. They have shrounds made that are tailored to the correct year for the vehicle. If it’s not shown in the on line parts catalog, just drop them an email or call and they’ll get you the right one. Mine arrived ready to install, and the trial fits looked nice.
As I dissassembled the shroud, it pretty much came apart in my hands. I decided to break out the scissors and cut the rest of it away, just leaving the bits that were connected to the sheet metal portion of the duct and the frame that fits around the radiator. TAKE PICTURES of these pieces so you know how they fit back together. I have installed shrouds in the past, but the quality of this one included heavy felt around the radiator side as is in the original to promote a very solid seal.
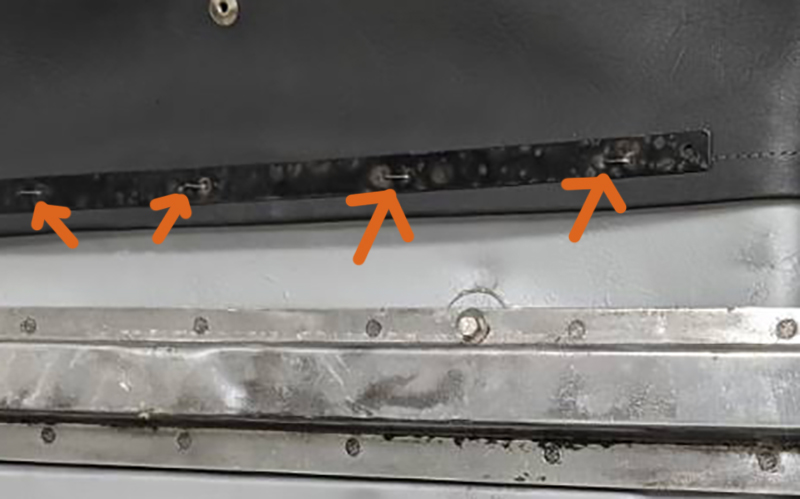
As I disassembled the shroud from the ductwork, I had to take out each heavy metal staple and decide how to replace them. Of course they were rusty, nasty and unsightly, so I decided to use stainless steel safety wire of the same gauge, and twist the ends with the proper pliers on the inside, and flatten them against their frames so if I had to reach in there later, I wouldn’t get “bit”.
To secure the duct, I marked the depth on the metal intake duct, and matched it to the shroud. Before installing, I painted the shroud inside and out with ALUMA-BLAST (Seymour Paints) paint to protect it and give it a nice look. Then I took a small drill bit and reamed every hole. I also painted the two backing strips on the front of the radiator with semi-gloss black paint and made sure the holes were also reamed out to accept the safety wire.
I started with theduct side first, as you can get to the wiring easier. You can do the radiator side last quite easily. Doing it the other way will just add time and frustration. Do the bottom of the shroud first, matching the existing holes that you reamed out, and then putting the cloth shroud at the right depth. Poke the wire through from the outside in, cutting lengths of wire that are extra long and making a pseudo-staple out of them. Once it is through, use the safety wire pliers to twist them tightly, and then folding it flat against the inside of the ductwork so it will be safe when you have to get in and clean it at some point in the future.
Repeat the process, inserting your safety wire “staples” into every hole that you reamed out and securing them before moving to the next. On both sides, I started in the middle and worked my way out. Then you can do the top of the shroud in at the frame that mounts to the radiator, taking extra special care to get the corners right. Once you get them secure, you can work your way around and it will come out nice. Fit it carefully, and make sure you have it exactly where you want it so you don’t have to do it twice.
Once it’s all in place, it’s time to fit the radiator back into the vehicle, and secure all the fiddly nuts and bolts so it looks nice.


Leave a comment